Set up the CLI
What the Studio CLI is
The Studio CLI runs from your terminal and writes to both halves of a Studio project: code files into your repo, and the matching entries into Studio. It is a plugin for Contentstack's CLI (csdx), so every studio command runs against the project you have set as active.
The Contentstack CLI (csdx) is the command-line tool for interacting with Contentstack directly from your terminal. The Studio plugin adds the studio commands on top of it: registering components, importing design tokens, and generating Sections and Templates.
Setup is five steps, and you only need to do it once. When you move to a different Studio project, only Step 4 needs repeating.
Prerequisites
| You need | Why |
|---|---|
| Node.js and npm | csdx installs as a global npm package |
| A Contentstack account with Studio enabled | The CLI signs in with your account and lists the projects it can reach |
| A Studio project that already exists | The CLI links to a project; it cannot create one. Create it in the Studio web app first |
| Your organization's region | Every command talks to one region's API |
Step 1: Install the CLI and the Studio plugin
Install the Contentstack CLI first, then add the Studio plugin to it:
npm install -g @contentstack/cli
csdx plugins:install @contentstack/studio
Confirm both are present. The first command prints the CLI version; the second lists the installed plugins, which should include @contentstack/studio:
csdx --version
csdx plugins
For more details on the Contentstack CLI itself, see the Contentstack CLI documentation.
Step 2: Pick your region
csdx config:set:region
Choose a region from the list (North America, Europe, Asia-Pacific, and so on). Every command after this targets that region until you change it.
Step 3: Log in
csdx login --oauth
A browser window opens for sign-in, and you are then prompted to pick an organization. The session is stored, so you do not log in again on this machine unless the token is revoked.
Token expired, refreshing the tokenis normal. If your stored session token has aged out, the next command refreshes it and prints that line before its own output. No action needed.
Step 4: Link a Studio project
Run this command to set the active project. It lists the Studio projects you have access to, and you pick one:
csdx studio:project:set
Or pass the ID directly. You can find the project ID in Studio: open your project, then Settings, then General.
csdx studio:project:set --project-id=<project-id>
| Flag | Alias | Description |
|---|---|---|
--project-id | -i | Project ID to set as active project |
Either way, the CLI lists the projects your organization can reach before it records anything. An ID that is not on that list is rejected.
Once you pick, the CLI confirms what it stored:
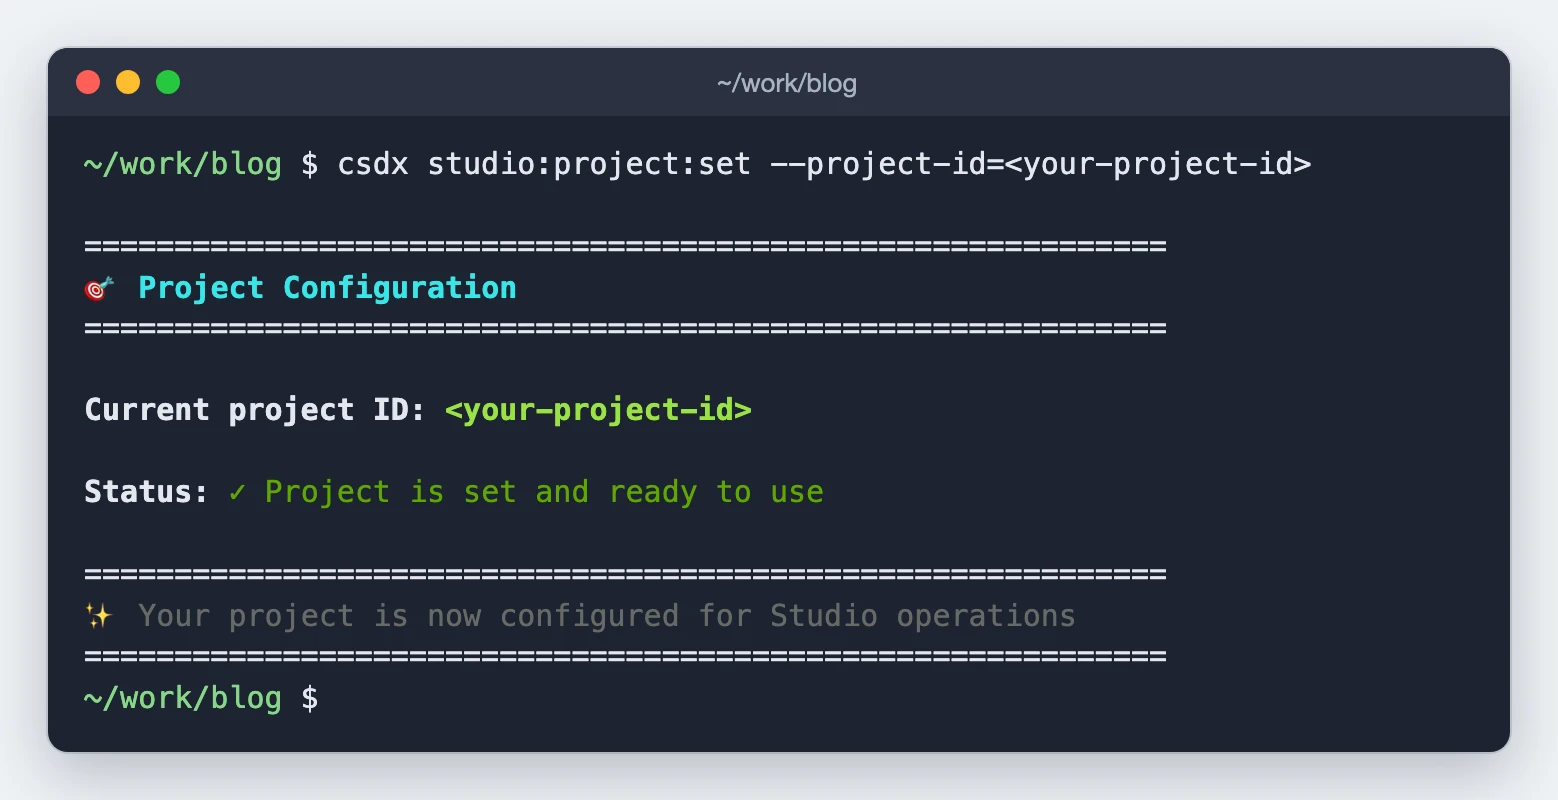
One project is active at a time, and the CLI remembers your choice on this machine. To switch projects, run the command again. Nothing in your repo changes.
You do not have to run it before every command. Any studio:* command that needs a project and finds none opens the same picker, then remembers what you choose.
Step 5: Verify
Run this command to verify whether the project has been set:
csdx studio:project:get
If a project is linked, the CLI prints its name, ID and status. This is the project every other studio:* command runs against.
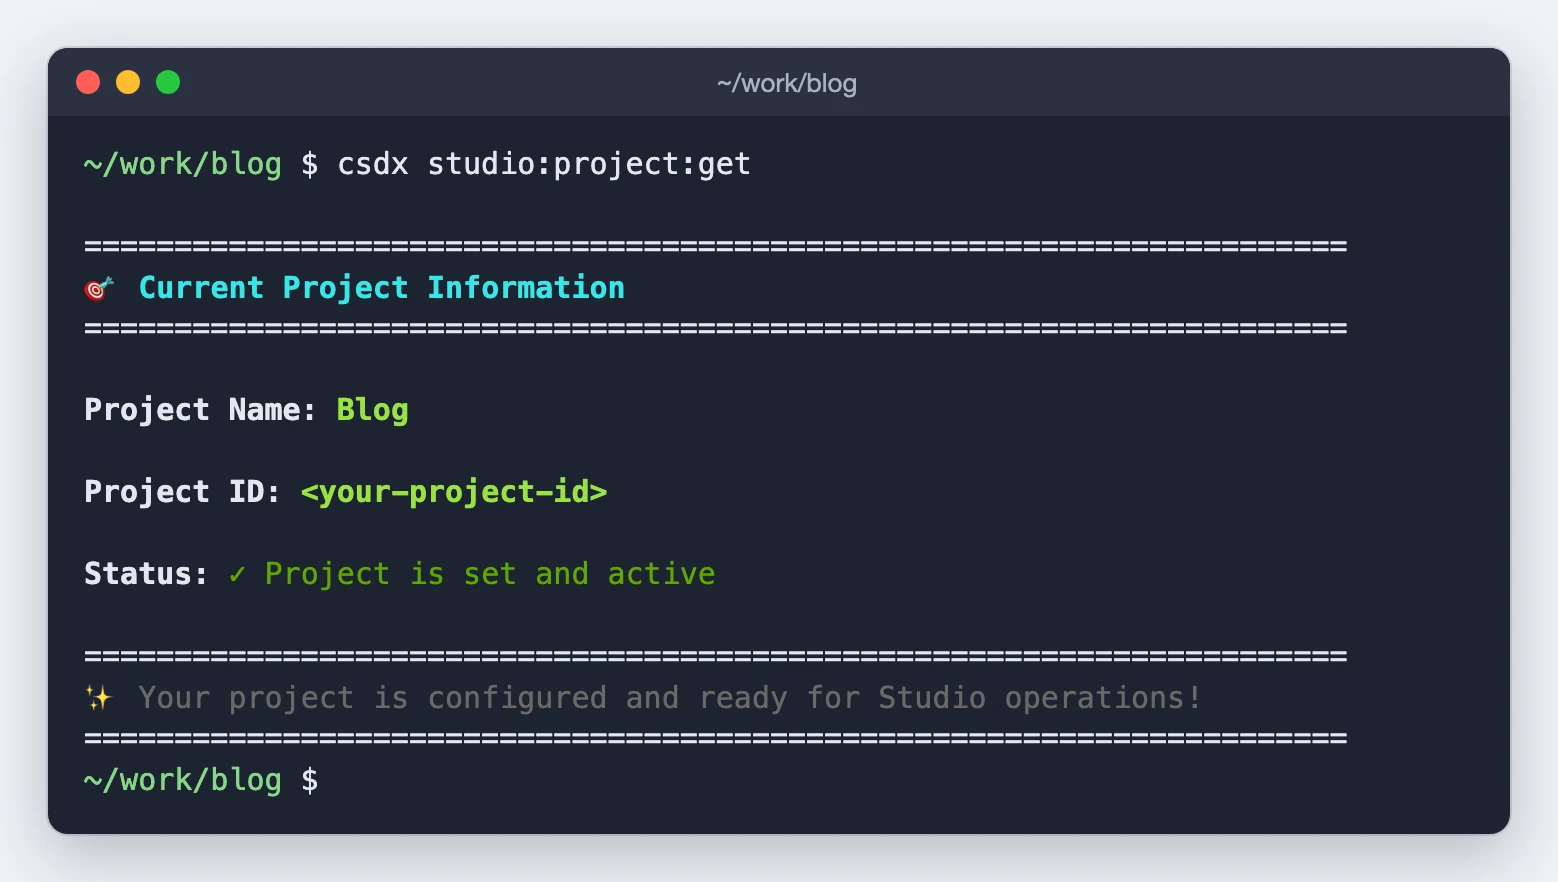
If no project is set, the command prints No project is currently set and tells you how to fix it.
The full command set
Every command runs against the active project. The last column links to the page that explains each command in detail. For usage and flags, see CLI commands.
| Command | What it does | Explained in |
|---|---|---|
studio:project:set | Set the active Studio project for subsequent commands | Step 4 above |
studio:project:get | Show the currently active project and its details | Step 5 above |
studio:component:register | Register local components with Studio by scanning a file or directory | Push your code into Studio |
studio:design-token:add | Fetch design tokens from Figma, or generate them by analyzing the project | Push your code into Studio |
studio:design-token:config | Update configuration values in the generated register-design-tokens file | Push your code into Studio |
studio:responsive-options:sync | Sync responsive breakpoints from your registerBreakpoints function to the project | Push your code into Studio |
studio:component:sync | Make a code component available in the Figma plugin for mapping | Push your code into Studio |
studio:component:add | Generate a code component from a Figma design | Choose your starting point |
studio:section:create | Generate a Section from a component you already have | Generate a section from a component |
studio:composition:build | Plan a page or Section from a design, then build it | Generate from a design |
studio:section:createandstudio:composition:buildwork differently from the rest. Each one is interactive and walks you through a series of screens, so each has its own page covering the full flow.
What to do next
Next, choose your starting point: it matches what you already have, a component, a design or a Figma file, to the command that builds from it.
Pushing your existing components in first is optional, but it lets a plan reuse them instead of writing new ones. See Push your code into Studio.
If it doesn't work
| Symptom | Cause | Fix |
|---|---|---|
No project is currently set | No project has been linked on this machine yet | Run csdx studio:project:set |
Project not found | The ID does not match a project your account can reach | Check the ID in Studio under Settings, then General. Confirm you are in the right organization |
Failed to set project by ID | The ID was rejected for the signed-in organization | Re-run csdx login --oauth and pick the organization that owns the project |
Failed to set project interactively | The picker could not list projects | Confirm the region is set with csdx config:set:region, then retry |
Failed to get project information | The API could not be reached, or the session expired | Re-run csdx login --oauth, then csdx studio:project:get |
csdx studio:* is not a known command | The Studio plugin is not installed | Run csdx plugins to check, then csdx plugins:install @contentstack/studio |
Do it with a skill
Prefer a chat-driven flow in your editor? Several commands have a conversational equivalent under prompts, including register-component and import-design-tokens. The CLI is the deterministic path; a skill reads your component and infers the decisions for you.
Related
- Registering components: what registering buys you, and the code side of it.
- Design tokens: the concept the token commands operate on.