The Studio Figma plugin
The Studio Figma plugin turns a design in Figma into Studio output. Read this page to sign in and to choose a route. You can paste a design onto a canvas, or generate a React component. Each route has its own page.
The example on this page is the Blog design file in Figma. Its Topic badge becomes a TopicBadge component, and a frame from it is pasted onto the About template.
What the plugin does
The plugin runs inside Figma and reads the layers you select. One run, Generate Design, gives you two things:
- Composition JSON, which you paste into Studio.
- A Component ID, which you give to the CLI.
The plugin leaves your design unchanged. While it exports a preview, it briefly adds a temporary frame, then removes it.
Each run is saved to History, so you can copy it again later without running it again.
Who does what
| Side | Tool | Who runs it |
|---|---|---|
| Design | The Studio Figma plugin, inside Figma | A designer |
| Code | The Studio CLI (csdx), in your repo | A developer |
How the plugin and the CLI fit together
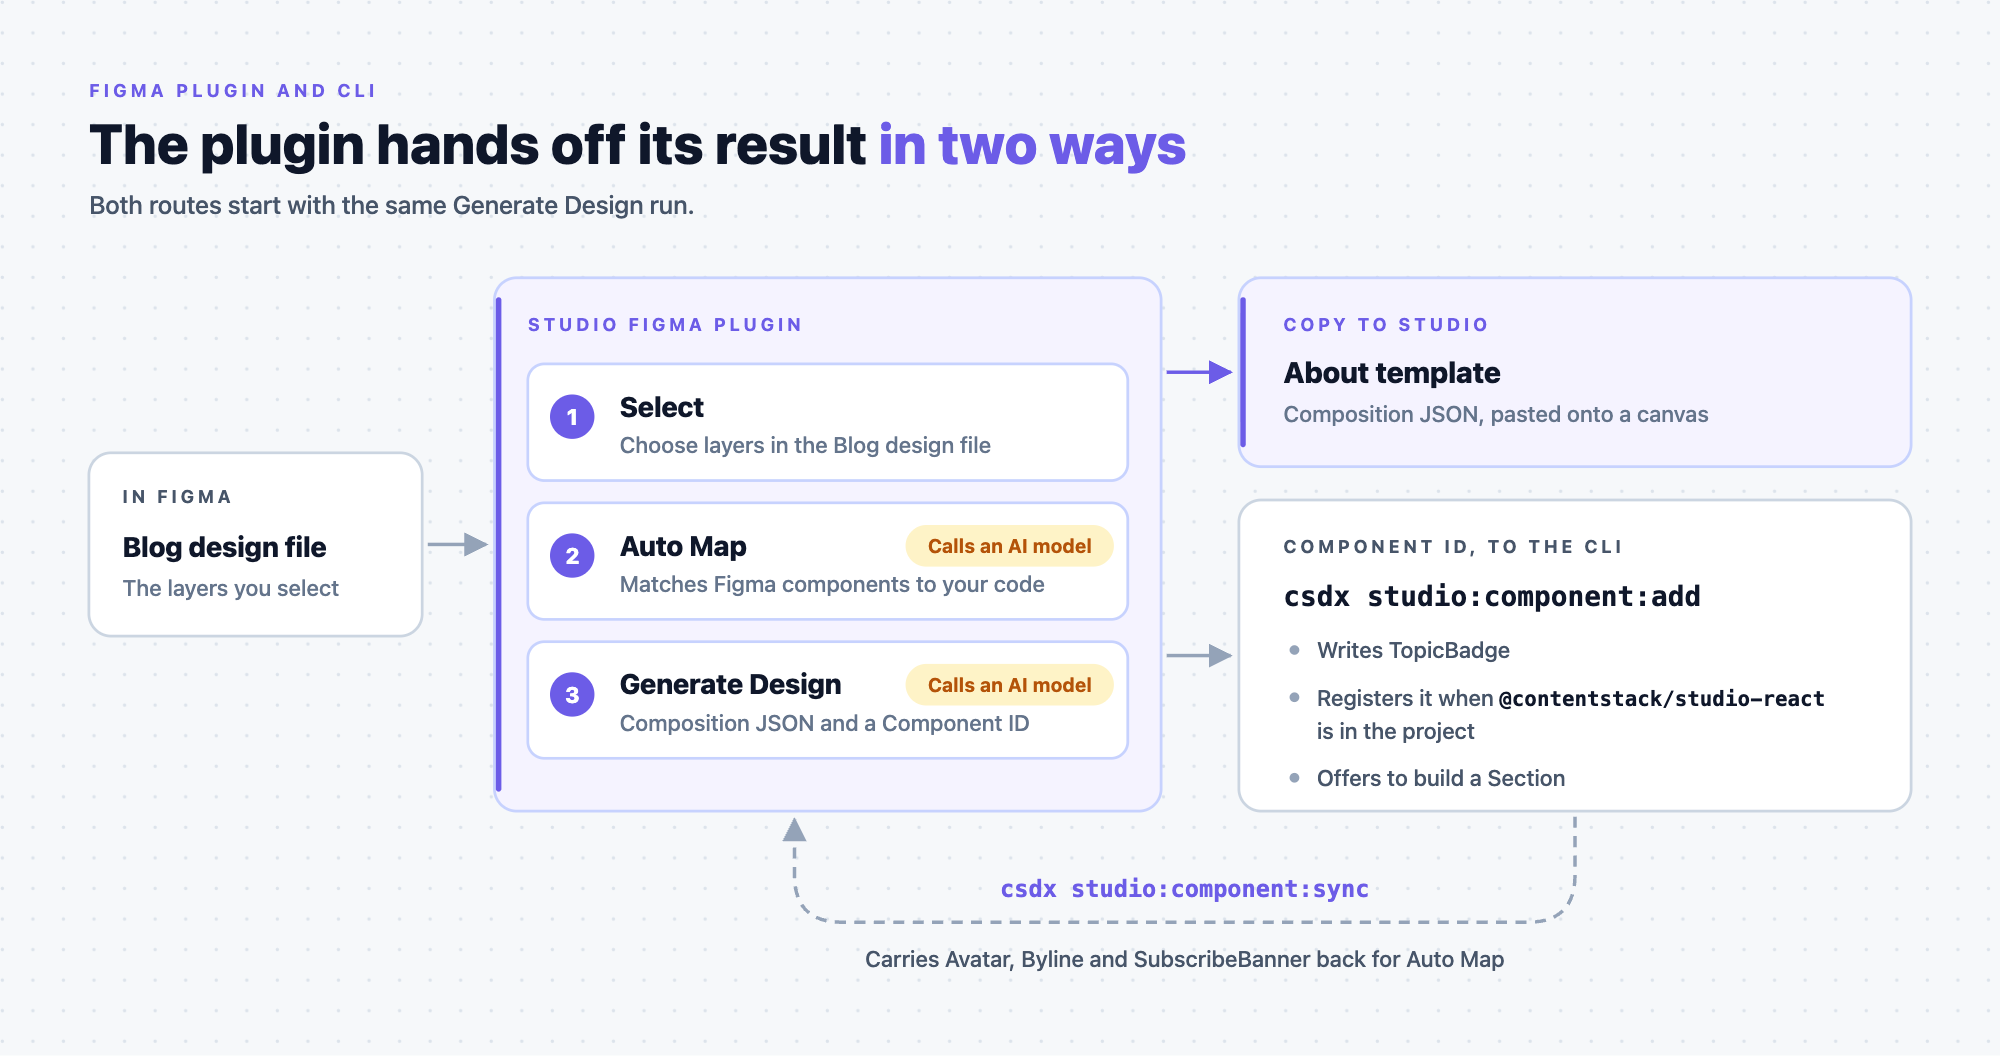
The plugin hands its result on in two ways:
- Copy to Studio puts composition JSON on your clipboard. You paste it onto a canvas in Studio, and no CLI is involved.
- The Component ID goes to the CLI.
csdx studio:component:addfetches that component and writes code into your repo. In the example, it writes TopicBadge, and it registers the component if@contentstack/studio-reactis in your project'spackage.json. Once it has written the component, the command offers to build a Section around it.
Information also flows back. When a developer runs csdx studio:component:sync, the CLI sends each component's name, props and import path to your project. Auto Map matches your Figma components against that list. In the example, the sync carries the code components Avatar, Byline and SubscribeBanner back to the plugin for Auto Map. It pairs them with the Avatar, Byline and Subscribe banner components in Figma.
Two steps call an AI model: generating a design, and Auto Map. Converting a result, listing past results and copying one again don't.
Install the plugin and sign in
You sign in with your Contentstack account, then choose the Studio project the plugin works against.
-
Open a Figma file you can edit. Press Cmd+/ (Ctrl+/ on Windows) to open Figma's quick actions, search Plugins and widgets for Contentstack Studio, and run it. The sign-in screen is headed "Login to Contentstack".
-
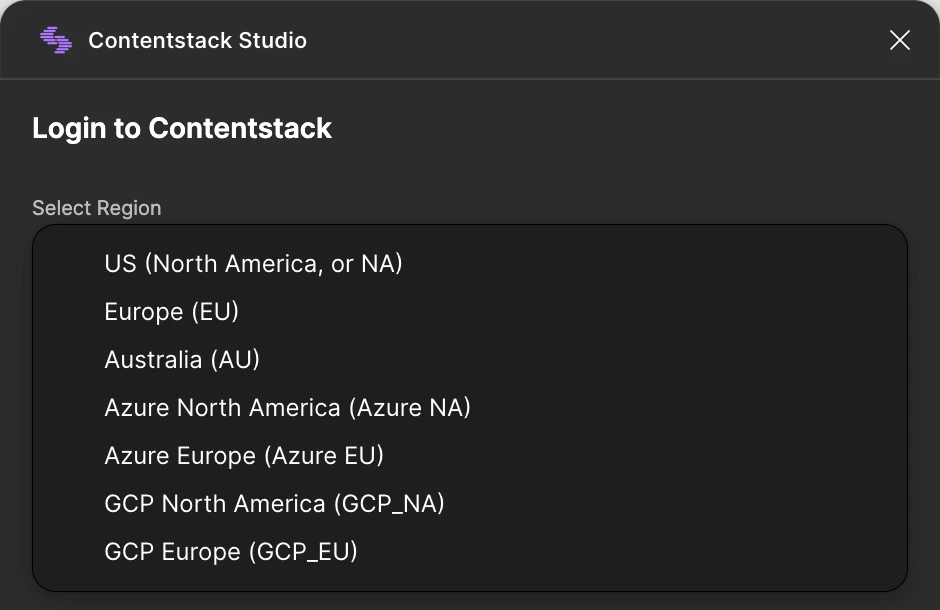
Choose the region your organization is in, such as North America (NA), Europe (EU) or Australia (AU). Click Authorize.
-
Approve in the browser tab the plugin opens. You have five minutes. The plugin waits and continues on its own. If the tab closes, Reopen sign-in page opens it again. Cancel stops the sign-in.
-
On Select Project, which lists the Studio projects in your organization, choose Blog and click Proceed. The plugin remembers your choice.
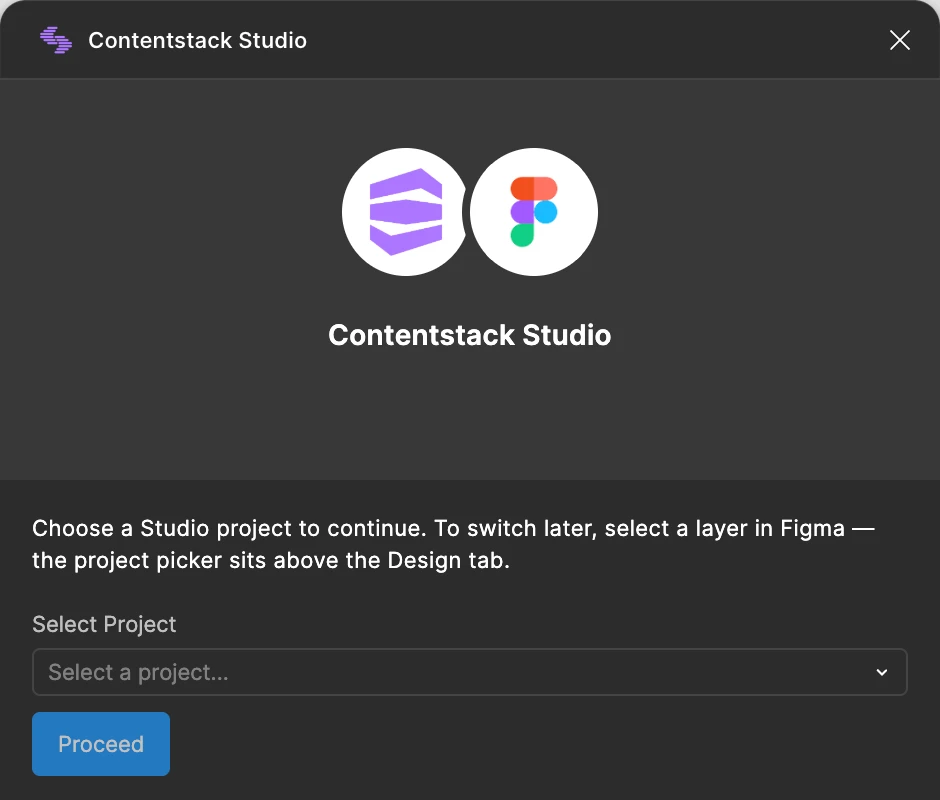
You stay signed in until you sign out or your session ends. Sign Out is at the bottom of the plugin and asks you to confirm. To switch project later, select a layer. The project picker sits above the Design tab.
The plugin's screens
With nothing selected, you see Home. Select a layer and the plugin shows three tabs.
| Where | What you see | What it's for |
|---|---|---|
| Home | "Generate AI-Powered Code" and "Select layers to export to code", with your history below | Starting point when no layer is selected |
| Design tab | Notes, the responsiveness choice and Generate Design | Making a generation |
| Component Mapping tab | One row for each Figma component in your selection, with Auto Map | Pairing Figma components with your code components |
| Design Tokens tab | Your file's local styles, with Import Design Tokens | Bringing styles into your project |
| "Your Export is Ready!" | A preview, Copy to Studio and the CLI command | Choosing what to do with a result |
| History, in the footer | Past results, which you can show as All or Created by me | Copying a result again |
| Code Components | The code components synced to your project, each with a remove button | Checking what Auto Map can match against |
Generate a React component from a Figma design covers every tab, the export screen and History.
Paste a design or generate a component?
Both routes start with the same Generate Design run. The export screen offers both, so you can decide once you see the result.
| Paste | Generate | |
|---|---|---|
| What you get | The design on a canvas as ordinary Studio components, for one composition | A React component written into your repo, which every composition can use |
| Good for | One layout, or trying a design before you decide which components to build | A piece of design you'll reuse |
| Needs the CLI | No | Yes |
| Ends with | A regular composition you can edit in Studio | The component in your repo, and an offer to build a Section around it |
| Page | Copy and paste from Figma to Studio | Generate a React component from a Figma design |
Both routes use your mappings. A Figma component you've mapped comes out as your registered component. One you haven't comes out as plain Studio components.
What the plugin needs
- A Figma file you can edit.
- A Contentstack account with a Studio project in your organization.
- To generate a component, the Studio CLI set up with the same project linked. Set up the CLI shows how.
- To use Auto Map, code components synced to your project. Push your code into Studio shows how.
If it doesn't work
| Symptom | Cause | Fix |
|---|---|---|
| "Authorization timed out before it was completed in the browser." | You didn't approve within five minutes. | Click Try again. |
| "No Studio projects found in your organization." | Your account has no Studio project there. | Ask someone with access to Studio to create a project in your organization. See Create a project. |
| "Your Contentstack session expired. Sign in again to continue." | Your session ended. | Sign in again. |
| Auto Map finds nothing | No code components are synced to your project. | Ask a developer to run csdx studio:component:sync --component-path=<file>, with the path to the component file. |
| A label differs from this page | The plugin changes often. | Trust what your plugin shows. |
Where to go next
- Prepare your Figma file, to set up Auto Layout, image export settings and size limits before your first run.
- Copy and paste from Figma to Studio, for one layout in one composition.
- Generate a React component from a Figma design, for a reusable component.