Verify your setup end to end
Run four checks to confirm that Studio and your app work together, before you build anything real. Do it once you've finished the setup pages, and again whenever something in the setup changes.
The example on this page is the Blog project, with the Post hero section and the Blog post template, previewing AI 101.
Prerequisites
- Every earlier setup step done. You've configured the project, installed the Delivery SDK, Live Preview and the Studio SDK, and mounted the section preview route and the template preview routes.
- A section and a connected template to check with. For example, the Post hero section, and the Blog post template with AI 101 as its preview entry.
What this is and what you get
Run these checks in order:
- Check your project settings.
- Check a section on the canvas.
- Check a template on the canvas.
- Check a deployed template on your site.
Stop at the first one that fails, because each depends on the ones before it. Every check links to the page that fixes it.
Faster ways to do this
- Skill. Ask your agent to verify your Studio setup, and it uses
verify-setup. It runs these checks and more, from the stack settings up, and names the lowest layer that fails. It asks you before it edits anything, and reports each check as passed, failed or unverified. See What are skills?
There's no Studio CLI command that verifies a setup.
Check your project settings
In the project, open Settings, then Configuration. The Base URL shows your site, such as http://localhost:3106, and the Canvas URL shows /canvas.
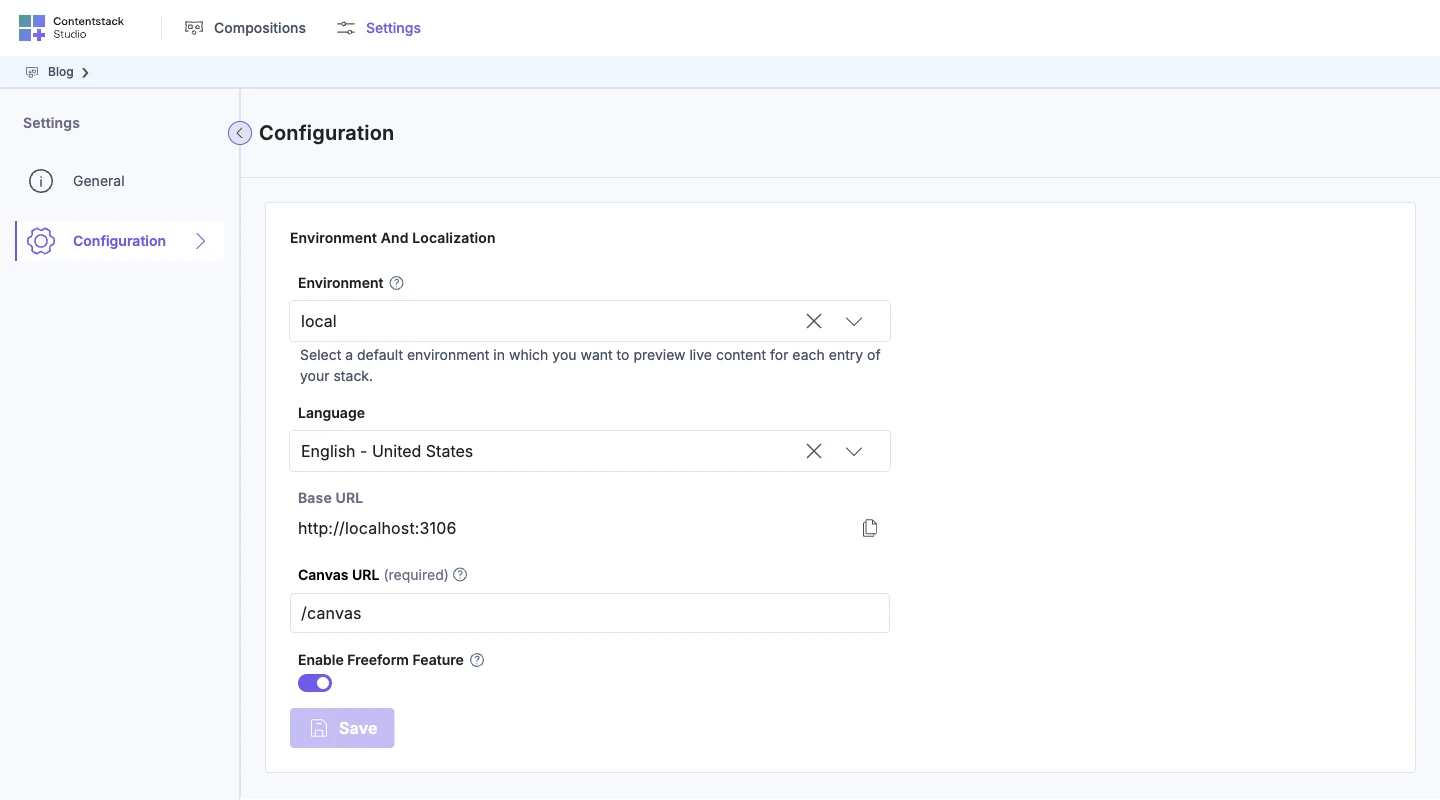
If you see "No base URL found!", or Save isn't disabled, go back to Configure your project.
Check a section on the canvas
Open a section, such as Post hero. The canvas loads your site at the Base URL plus the Canvas URL, such as http://localhost:3106/canvas.
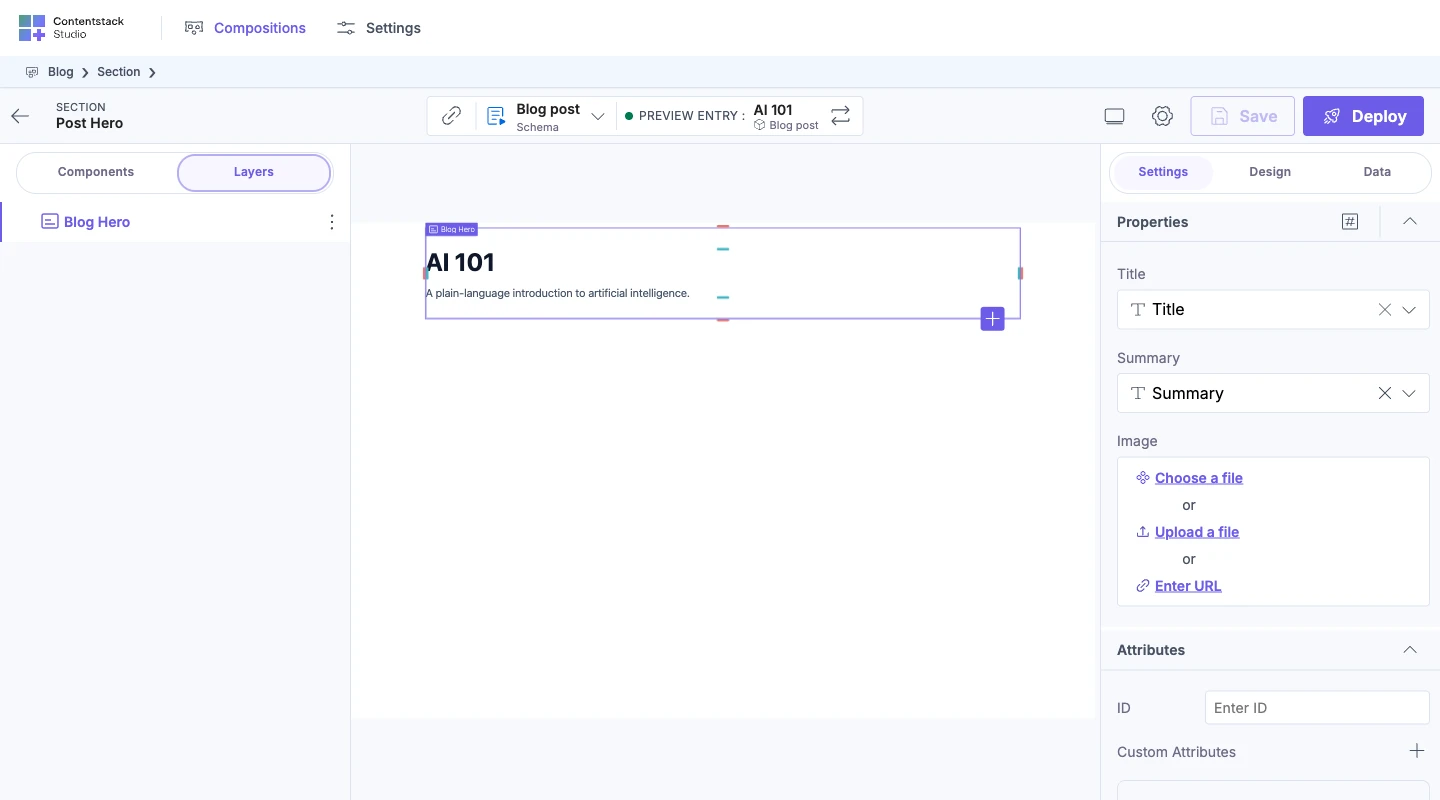
An empty section shows "Start Building Section" on the canvas. That message comes from your site, so it means the canvas route works.
If you open the Canvas URL in a normal browser tab, you see a blank page. That's expected, because the canvas renders only inside Studio.
If a card appears instead, it names the problem. For "Studio Can't Connect to Your Site", go to Install the Studio SDK. For any other card, go to Mount the section preview route.
Check a template on the canvas
Open a connected template, such as Blog post. The canvas loads your site at the Base URL plus the path its Template URL makes for the preview entry, such as http://localhost:3106/blog/ai-101.
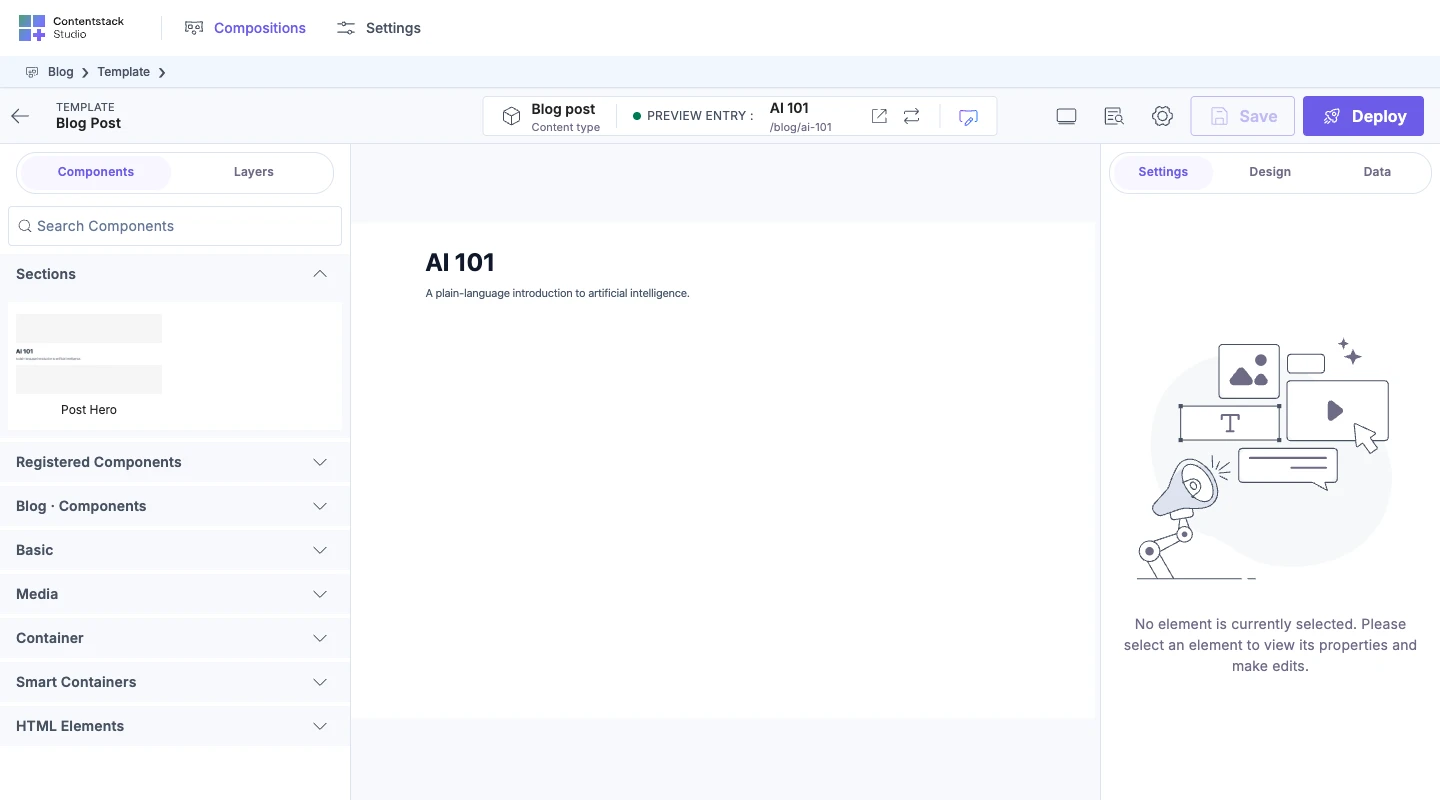
If "Create an entry to start building" appears, the template's content type has no entry to preview. Create one, such as AI 101.
If the "Use Studio Component" card appears, go to Wire template preview routes. For a card about the URL, go to Edit or reset a template's URL.
Check a deployed template on your site
-
With the Blog post template open, click Deploy.
-
Tick your environment, such as
local, and click Send with References.Studio shows "Template Published Successfully".
-
Make sure the entry, such as AI 101, is published to that environment too. Deploy doesn't publish it. See Send with references or without?
-
Click Open in new tab in the canvas top bar. It opens the same address on your site, such as
http://localhost:3106/blog/ai-101, and shows what visitors see now.

For the Deploy dialog in full, see Save, preview, deploy.
If it doesn't work
Each check's fixes are on the page for that step.
| Check that failed | Where to fix it |
|---|---|
| Project settings | Configure your project |
| A section on the canvas | Mount the section preview route, or Install the Studio SDK for "Studio Can't Connect to Your Site" |
| A template on the canvas | Wire template preview routes |
| A deployed template on your site | Save, preview, deploy |
Once all four pass, start building. See Build sections.