Add extra data to a template
Pin an entry to a template or section when its elements need a field of an entry other than the one the template shows. You do it in the Data tab, in the right panel of the canvas.
To add a query or your own data instead, see Add a query and Bring your own data.
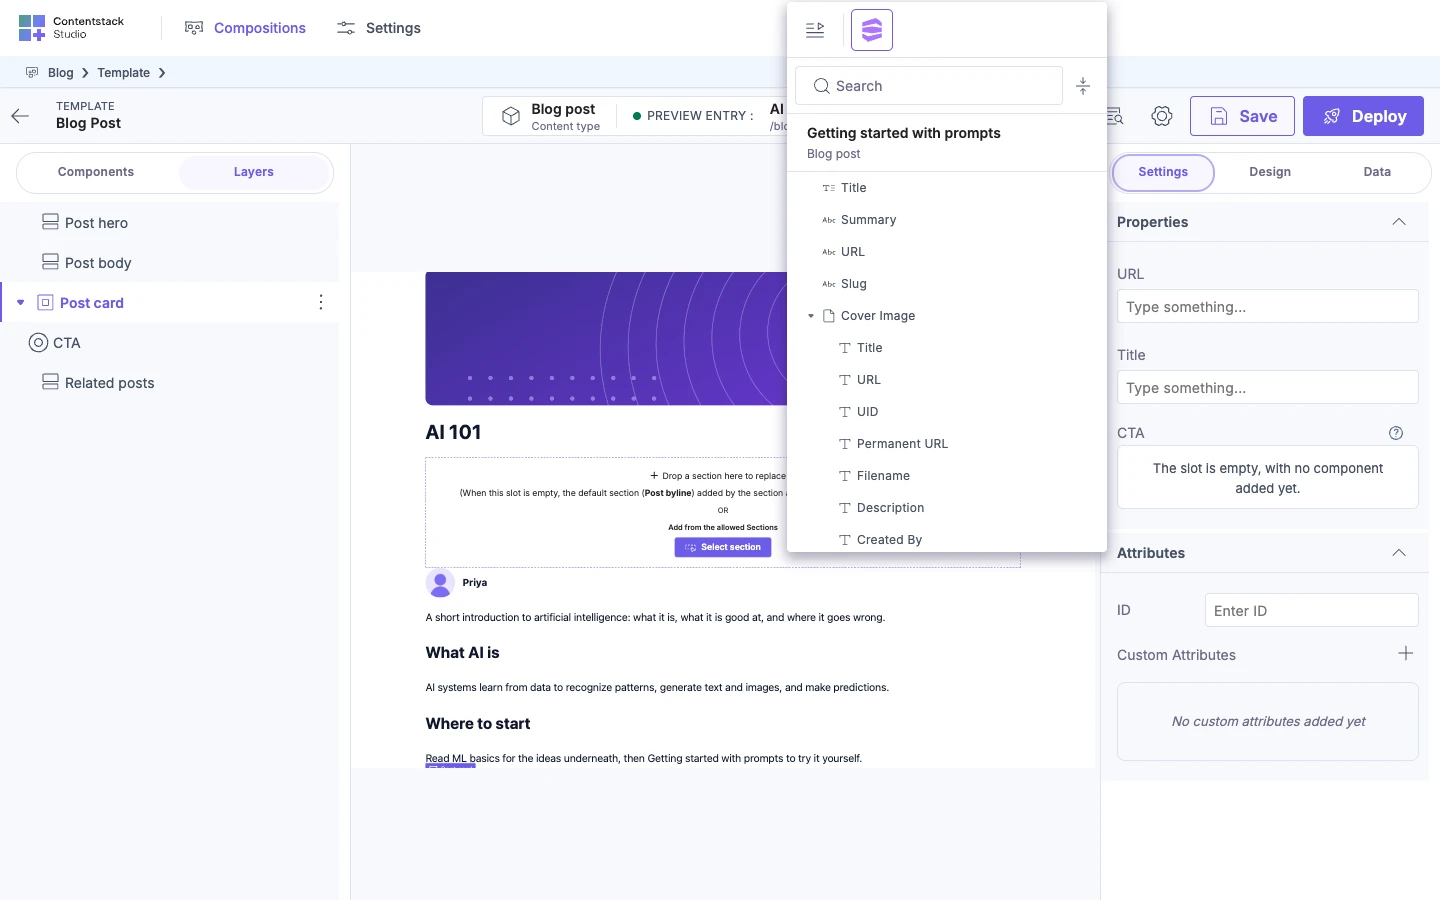
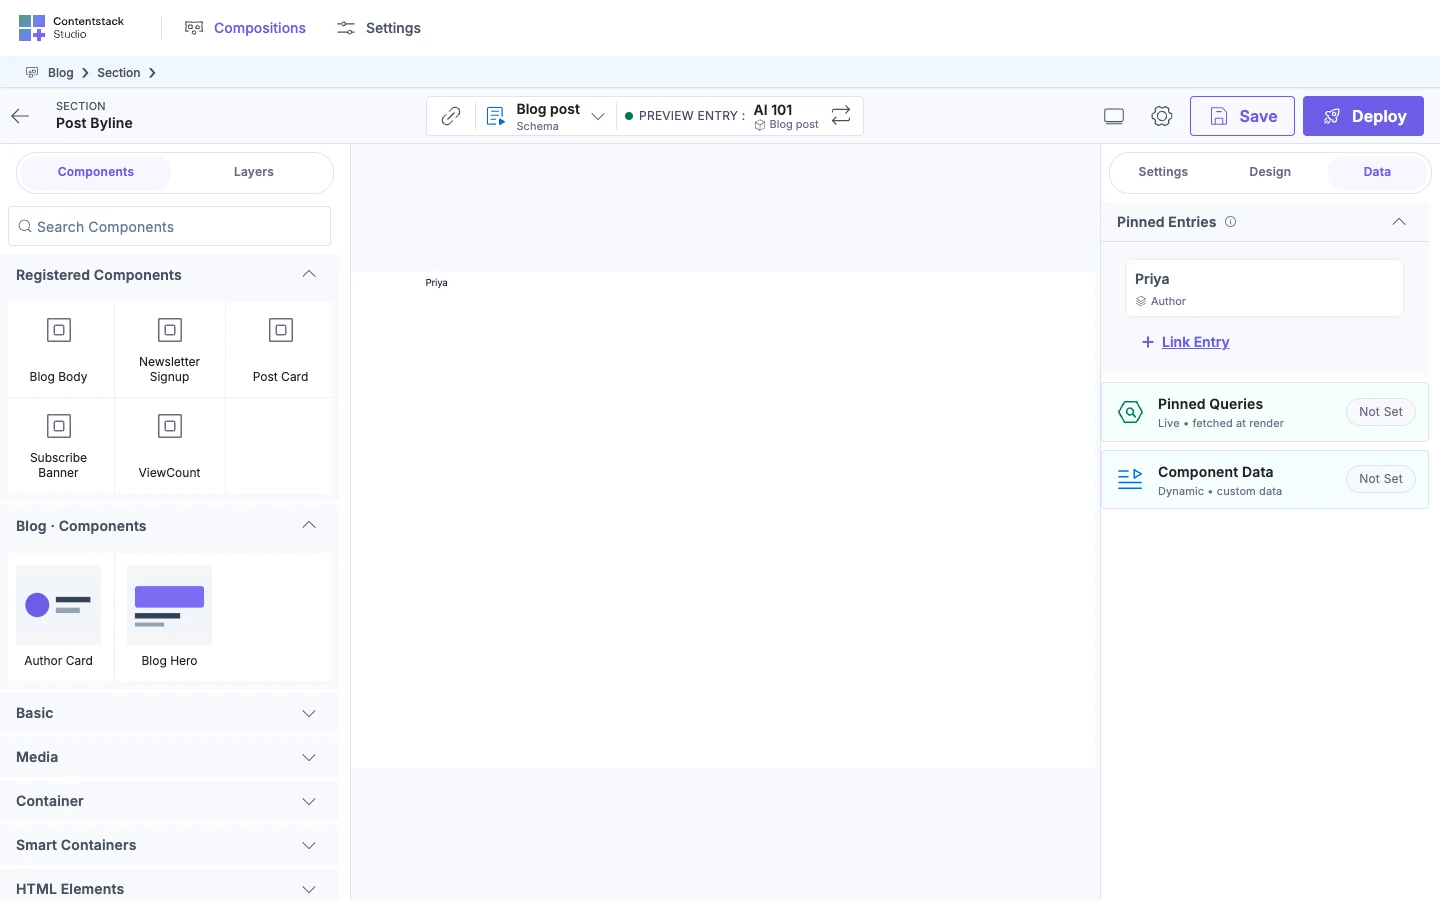
The example on this page is the Blog post template, which shows the entry AI 101. You pin the entry Getting started with prompts to it. Later, you pin the Author entry Priya to the Post byline section.
Prerequisites
- Open a template or a section on the canvas.
- Turn on Enable Freeform Feature if you're working on a connected template or a section. On those, the Data tab appears only when it's on. The Blog project has it on. See Feature flags.
- You need nothing extra for a freeform template. It keeps the Data tab even when Enable Freeform Feature is off. See Connected or freeform template.
What this is and what you get
The Data tab lists the extra data a template or section can read, besides the entry a connected template shows. It offers three sources. This page teaches the first.
| Source | Label on its card | Details |
|---|---|---|
| Pinned Entries | "Static • always shown" | The entries you pin in this tab. The steps are below. |
| Pinned Queries | "Live • fetched at render" | Needs Studio SDK 1.2.1 or later in your app. See Add a query. |
| Component Data | "Dynamic • custom data" | Sample JSON you design with. Data your app passes in the same shape replaces it. See Bring your own data. |
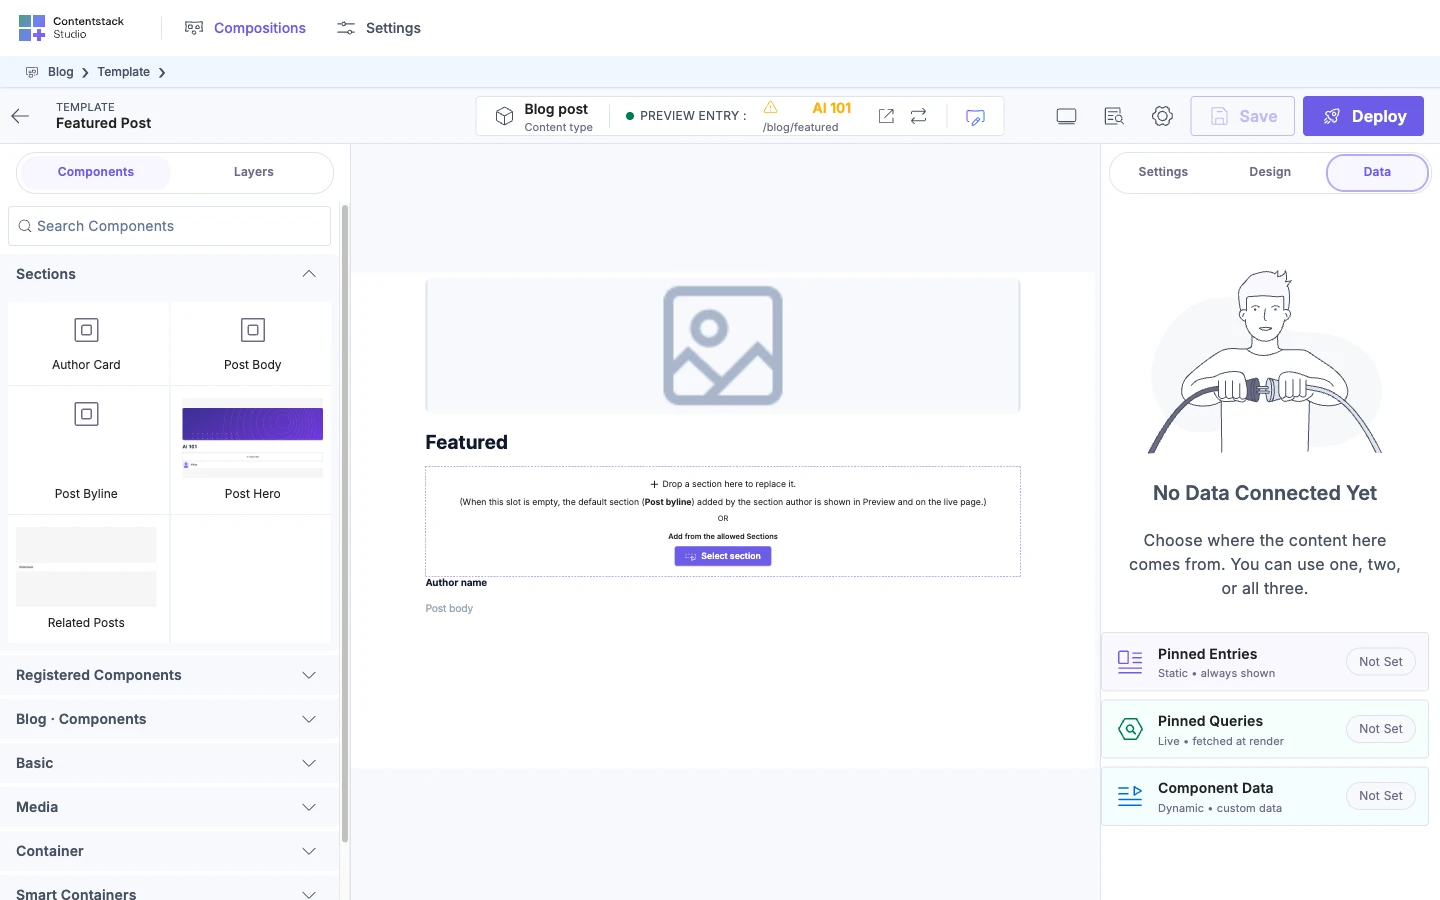
With nothing added, the tab says "No Data Connected Yet". Under that, it says "Choose where the content here comes from. You can use one, two, or all three." Each source starts as a card with a "Not Set" badge.
Once you've added a pinned entry or a query, the Data Picker shows a source with the same name.
SEO values aren't in the Data tab. They're in Template Details, in the canvas top bar. See SEO and metadata.
Pin an entry to a template
Pin an entry when elements in the template need to read a field of an entry you choose now. In the example, you pin Getting started with prompts so PostCard can read its url.
-
Open the Blog post template on the canvas, and click Data in the right panel. With nothing added, the tab shows the same three cards.
-
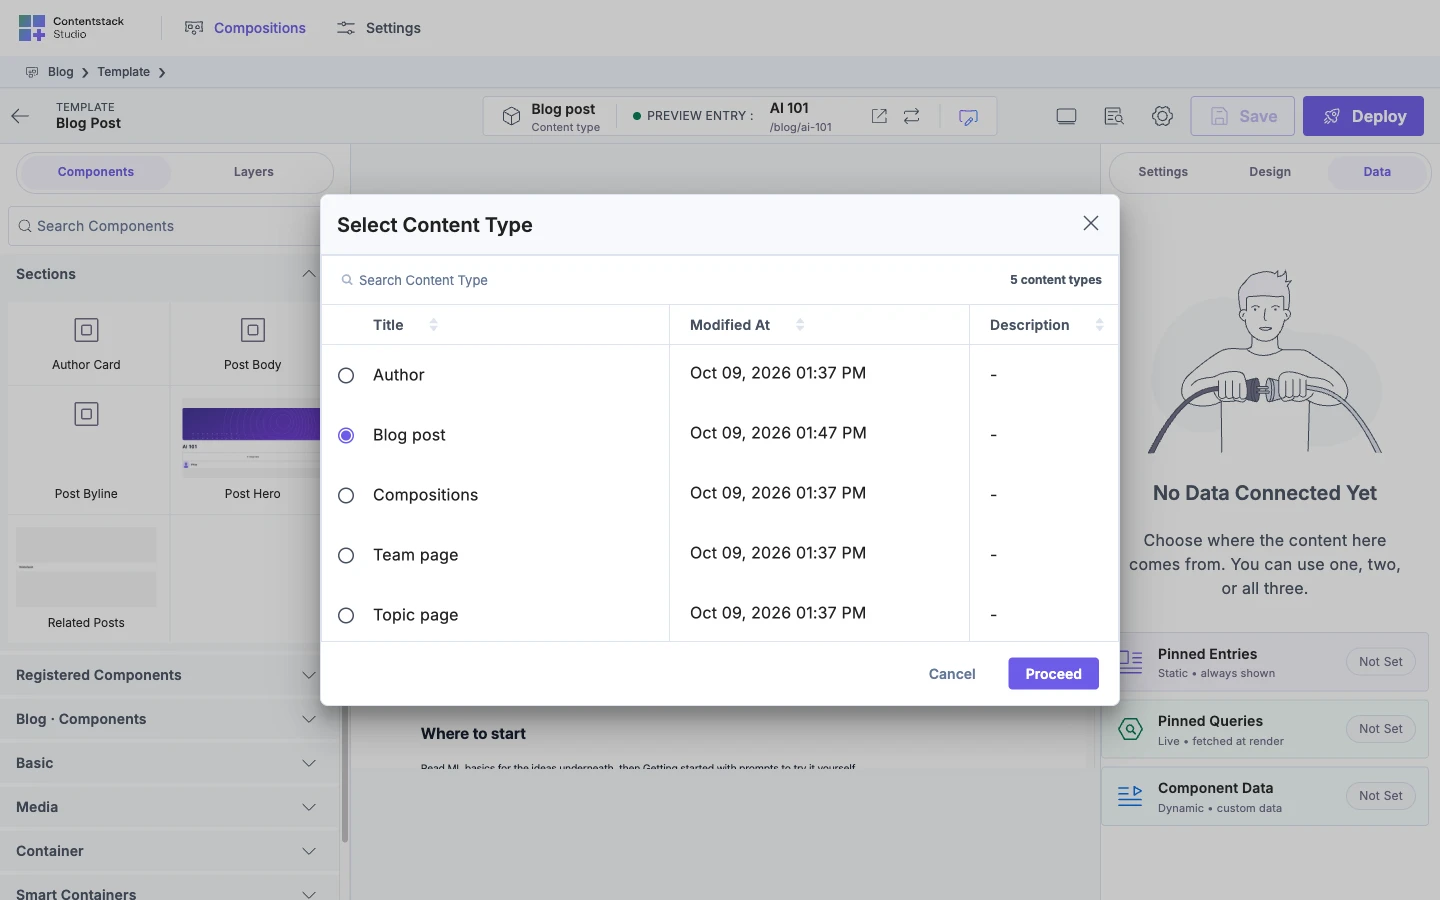
With nothing pinned, click the Pinned Entries card. With entries already pinned, click Link Entry, under Pinned Entries. A Select Content Type dialog opens first.
-
Select Blog post with its radio button. The dialog lists your content types, with Title, Modified At and Description columns, and a Search Content Type box. Proceed stays disabled until you select one. Then click Proceed.
-
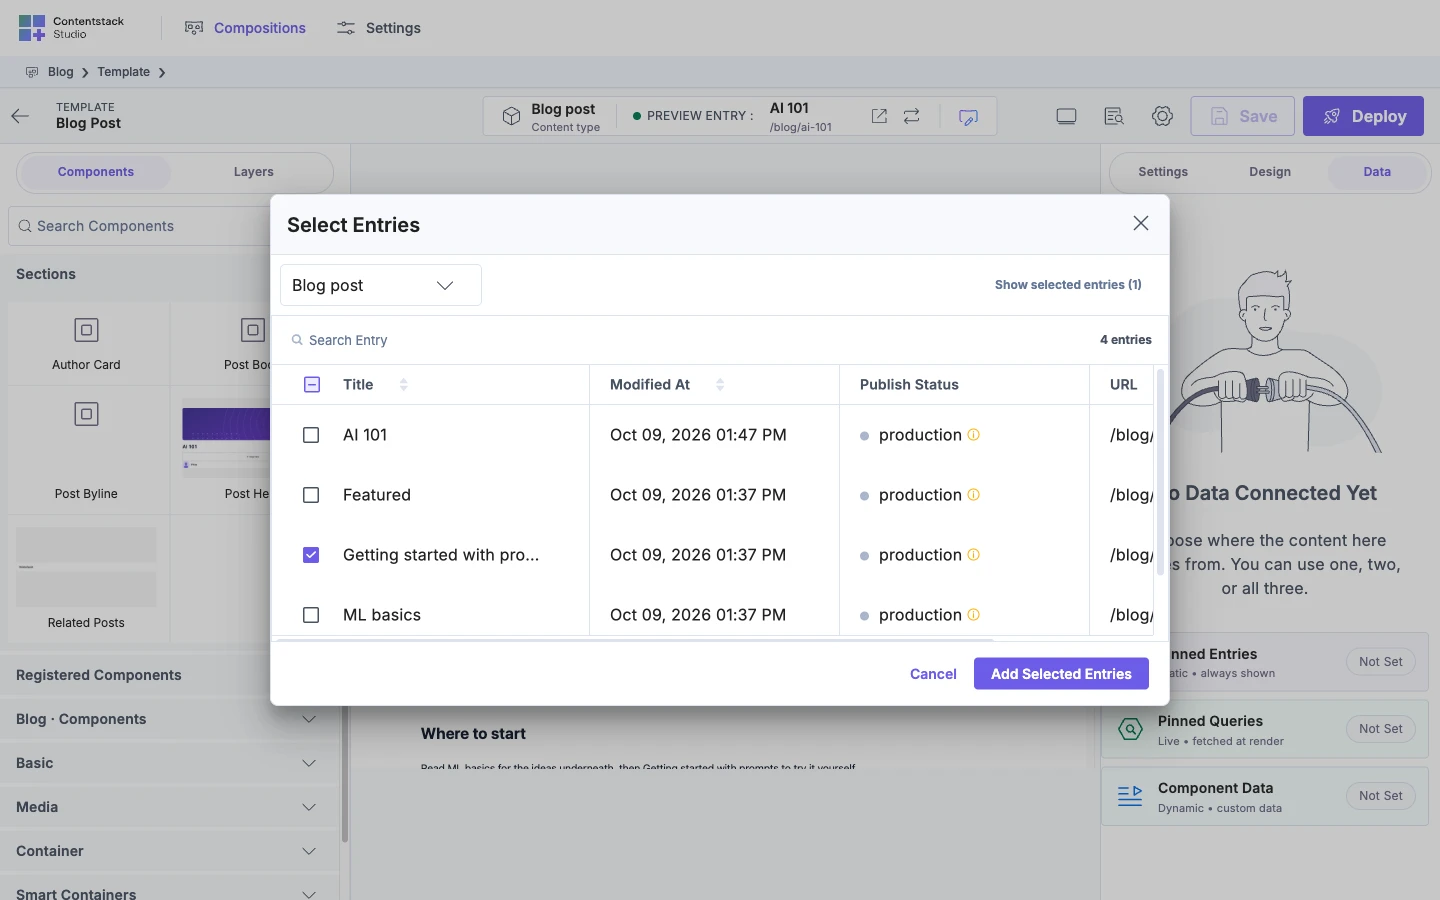
In the entry picker that opens for Blog post, select Getting started with prompts, then click Add Selected Entries. You can select more than one entry. Entries you pinned before stay selected when you open the picker again.
-
Click Save on the template. Studio stores pins with the template when you save.
Pinned Entries now shows one row with the entry's title and its content type's name, Getting started with prompts and Blog post.
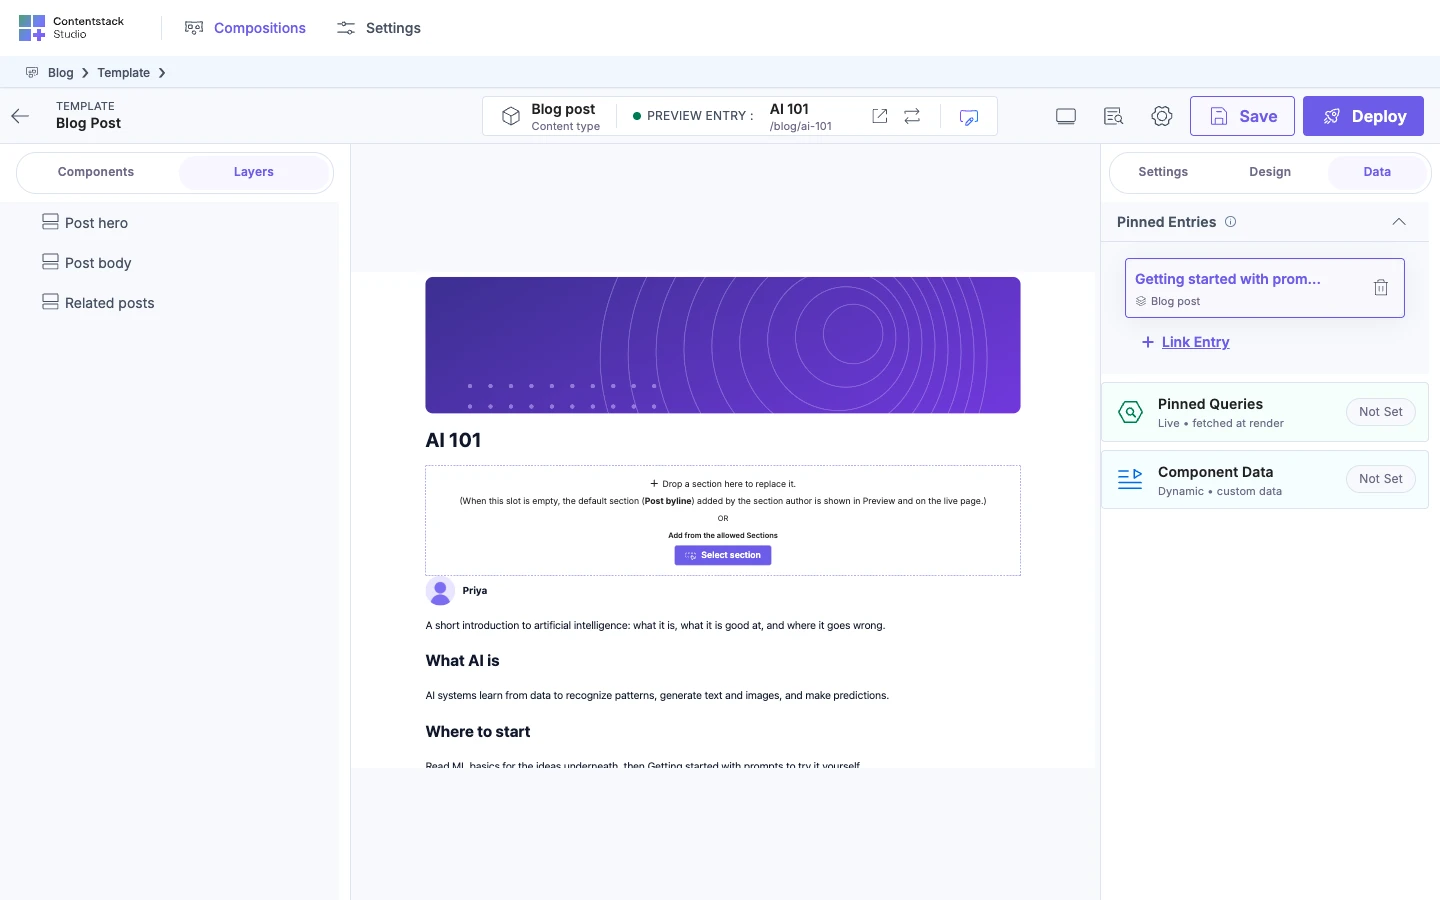
The Data Picker now lists Pinned Entries as a source. Select a field from the pinned entry on that source. To bind PostCard's url to that field, see Bind a component.
To remove a pin, click the delete icon on its row. The tooltip reads "Delete", and there's no confirmation. A pinned entry row has no edit action. To swap an entry, remove it and pin another.
Pinned Entries on a section belong to the section
With a section open on the canvas, the Data tab works the same way, when Enable Freeform Feature is on. Studio stores the entries you pin on the section, and the section's own components use them. A template's Data tab doesn't list them. The same applies to the section's Pinned Queries.
In the example, you open Post byline and pin Priya, an Author entry. You then add a Header to Post byline and bind it to Priya's handle, as in Bind a component. Studio saves the pin on Post byline, and a template's Data tab doesn't list it.
If it doesn't work
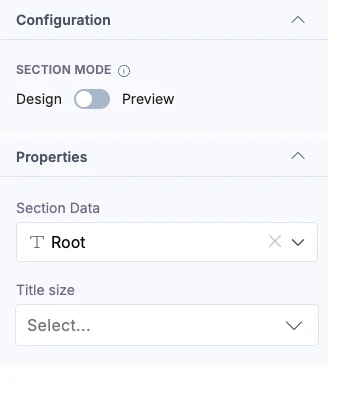
The right panel has no Data tab. If the right panel shows only the Settings content, with no tabs, Enable Freeform Feature is off. This applies to a connected template or a section. If you see icons instead of tabs, the window is 1200 pixels wide or less. Widen it.
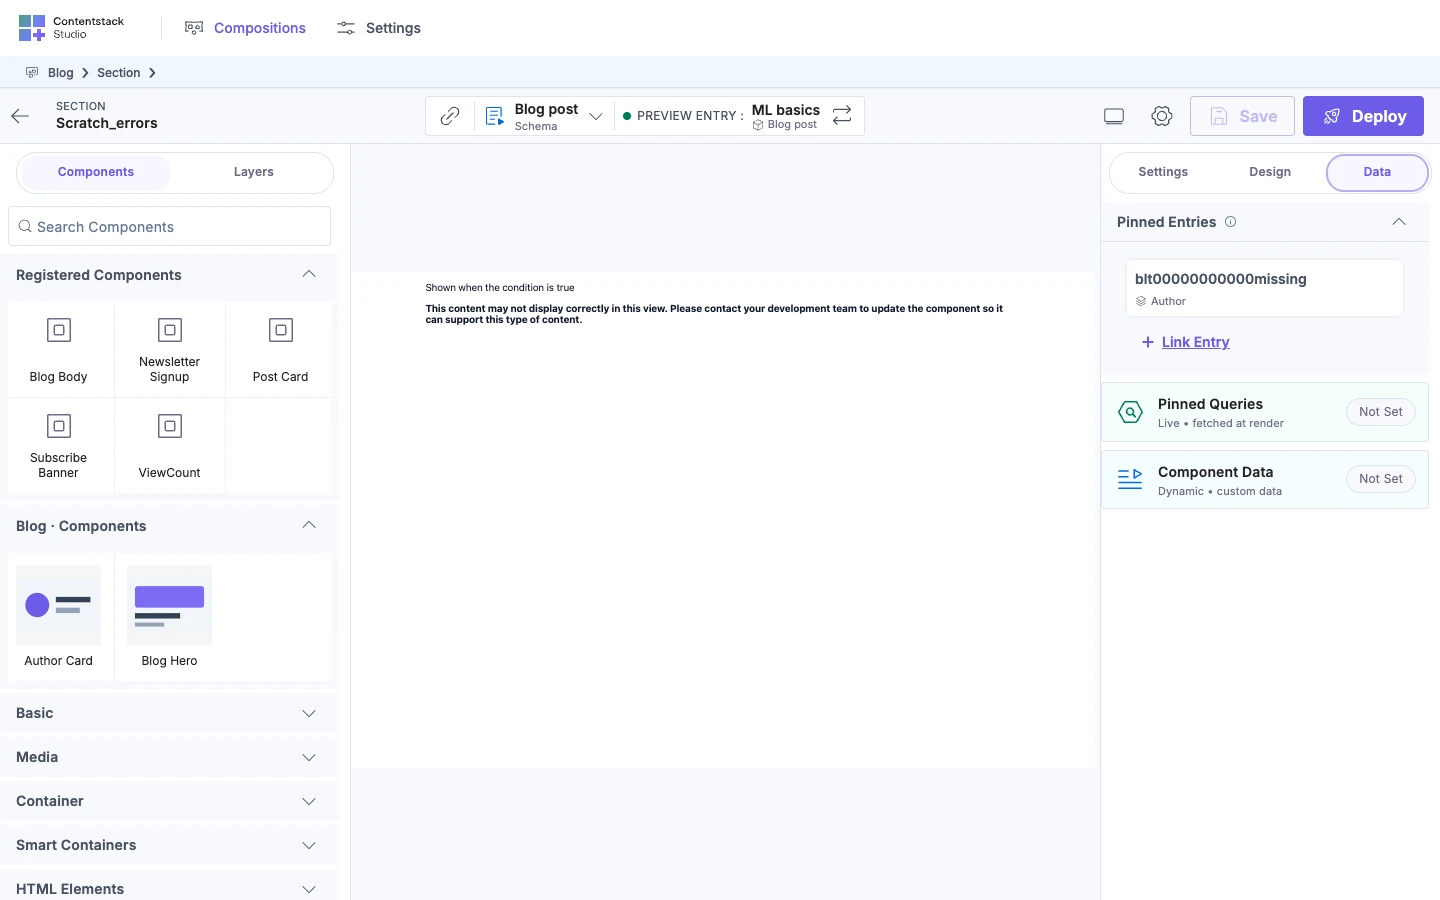
A pinned entry row shows a UID instead of a title. Studio found no title for that entry. Click the delete icon on its row to remove the pin.
The Data Picker has no Pinned Entries source. The source appears only after you pin an entry.
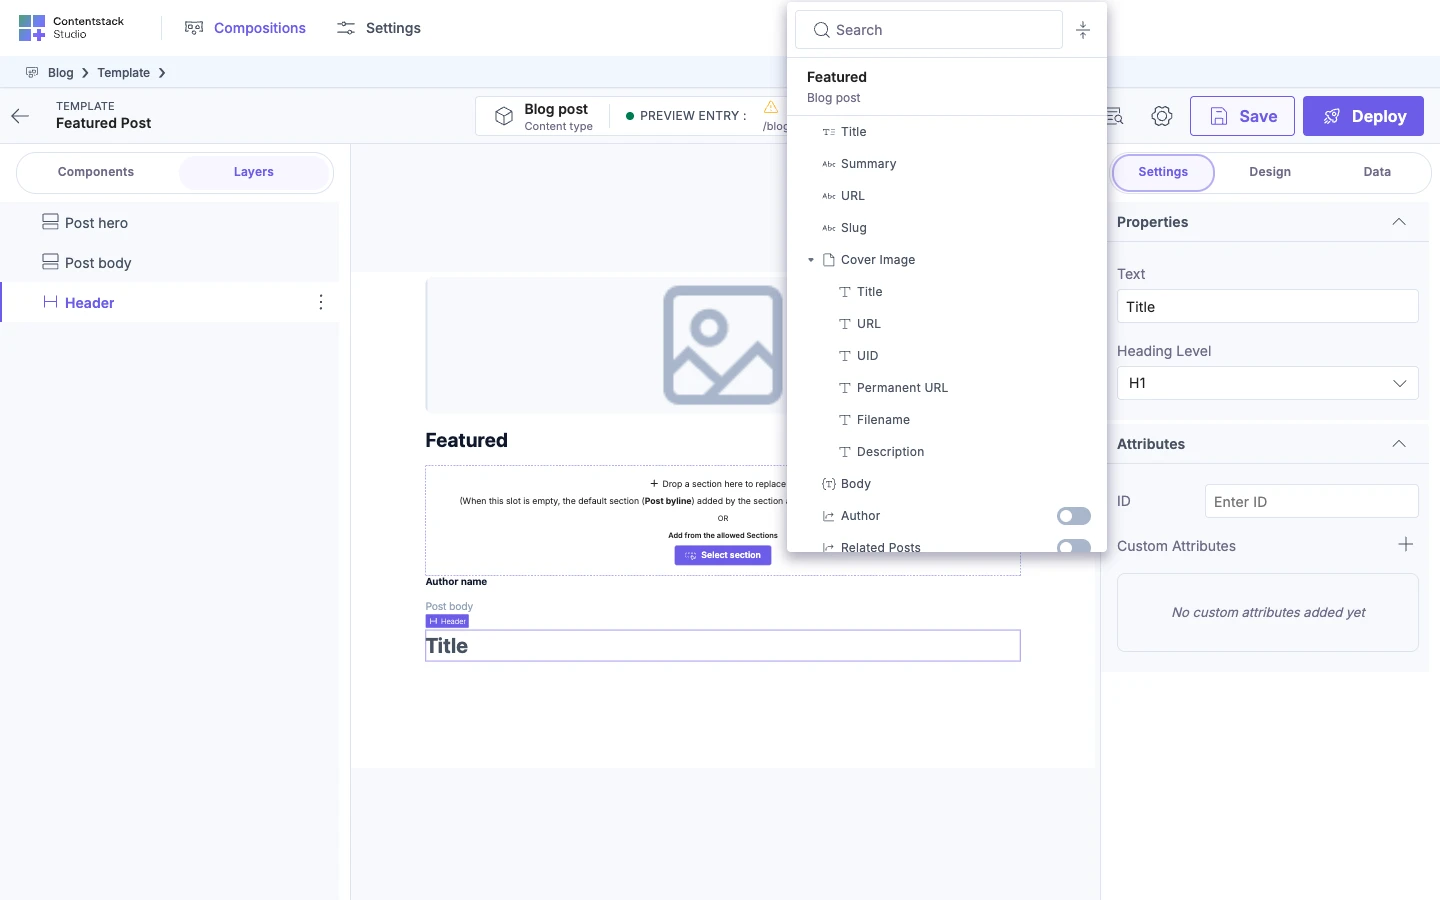
The Data Picker says "No data available for selected data source, please select one to continue". It appears when the source you chose has nothing to list. Select another source.
The Data Picker says "Could not load the data source. Please try again later. If the issue persists, please contact support." It appears when the Data Picker fails to build its list. The message doesn't show the cause.
The next step is to bind an element to what you pinned. See Bind a component.