Create a project
You create a Studio project to connect Studio to your stack. You do it once per site, before you install anything in your app.
The example on this page is the Blog project, connected to the Blog stack.
Prerequisites
You need everything on Prerequisites, including a stack role that can create content types.
What a project is and what you get
A Studio project is Studio's workspace for one site. It's connected to one stack and holds that site's templates and sections.
When you create a project, Studio adds one content type to your stack to hold them:
- By default it's named Compositions, with the UID
compositions. - Studio creates it in the stack's
mainbranch. - Each template or section you build is an entry of that content type.
- Don't edit its fields yourself. Studio adds any fields it needs each time the project opens.
You can't change the project's stack or content type after you create it. Deleting the project deletes its content type and every template and section in it. See What deleting a project removes.
Create the Blog project
-
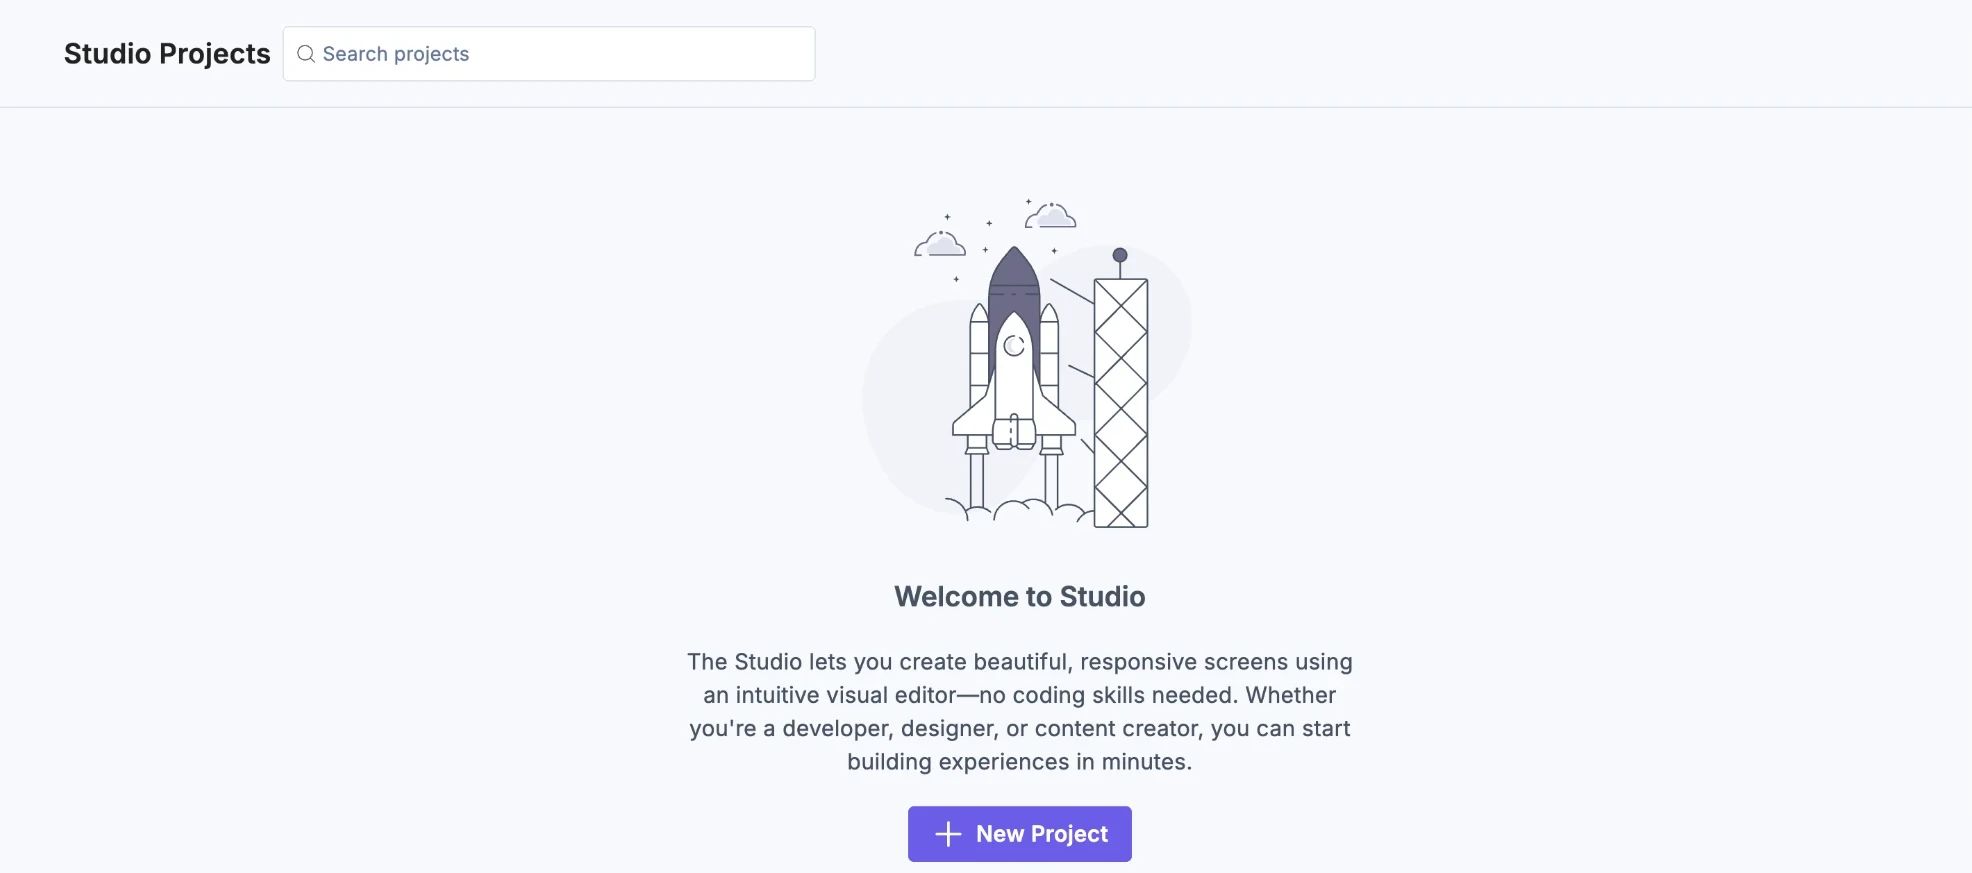
Open Studio. The page is called Studio Projects. To find Studio, see Check that Studio is available to your organization.
-
Click New Project. With no projects yet, it's in the middle of the page. Otherwise it's at the top of the page.
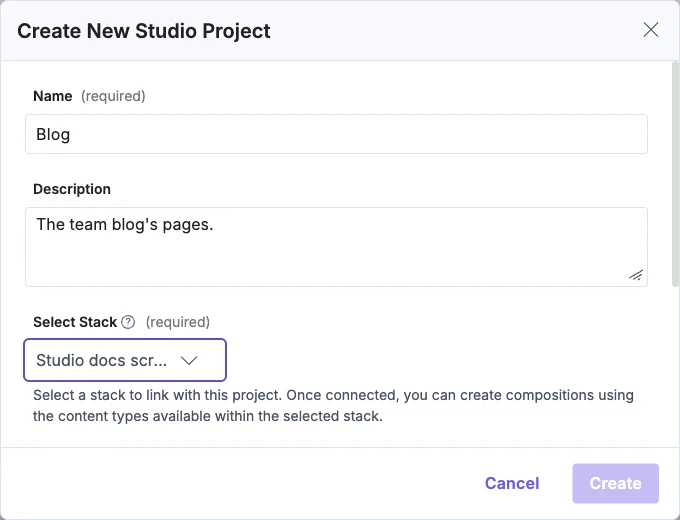
The Create New Studio Project dialog opens.
-
In Name, type
Blog. It's required. -
In Description, type
The team blog's pages.It's optional. -
In Select Stack, pick the Blog stack. It's required, and you can type to search the list.
-
To use a content type name or UID other than Compositions and
compositions, set them now, as in Name the Compositions content type. -
Click Create. It stays disabled until Name, Select Stack and both content type fields are filled, and Studio has checked that the content type is free.
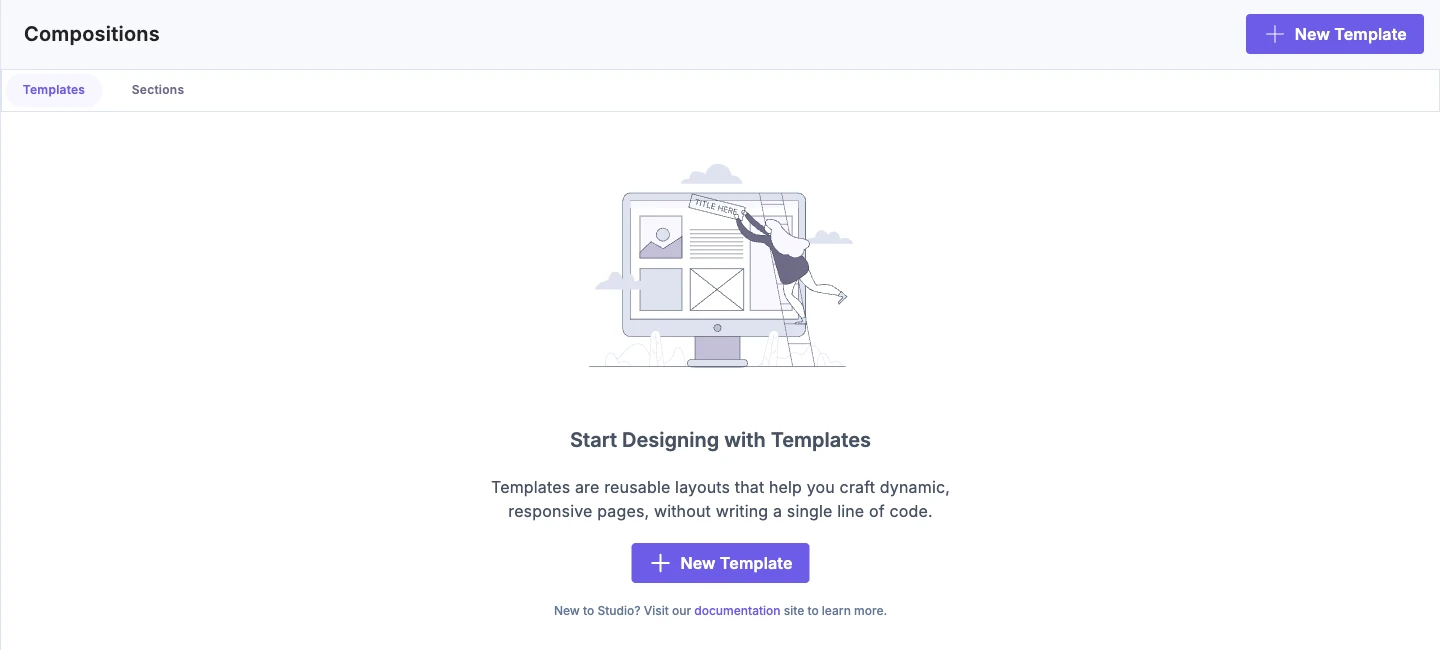
Studio creates the content type first, then the project. The dialog closes, a success message appears, and Studio opens the Blog project's Compositions page. It has two tabs, Templates and Sections, and opens on Templates. A new project's Templates tab reads "Start Designing with Templates" and has a New Template button.
Cancel closes the dialog and creates nothing.
Next, configure your project: its environment, language and Canvas URL.
Name the Compositions content type
The content type's name and UID are under Advanced Settings, at the bottom of the dialog. It's closed until you open it.
Content Type Name and Content Type UID are both required. They start as Compositions and compositions.
When you type a name, Studio fills in the UID for you, in lowercase with spaces turned into underscores. If you change the name after editing the UID, Studio replaces your UID with one made from the name. Edit the UID last.
The UID must be lowercase with no spaces, as the field's help text says.
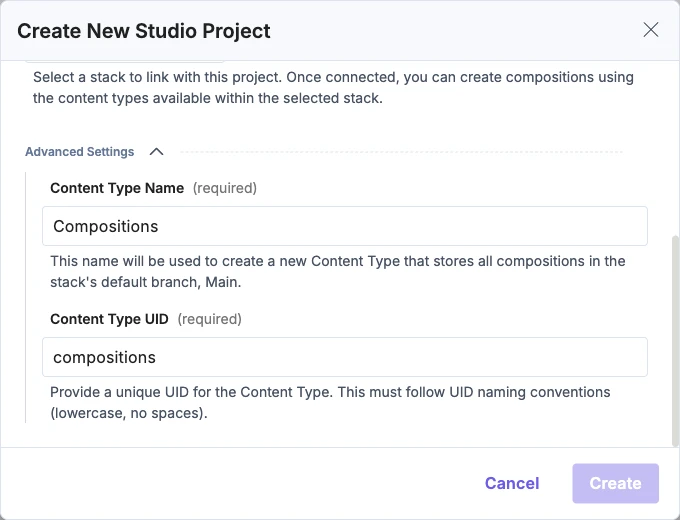
Your app's Studio SDK has to use the same UID, as contentTypeUid. If you leave contentTypeUid out, the SDK uses compositions. You can copy the UID later from the project's Settings, on the General tab. See Fields on the General tab.
When the stack already has a Compositions content type
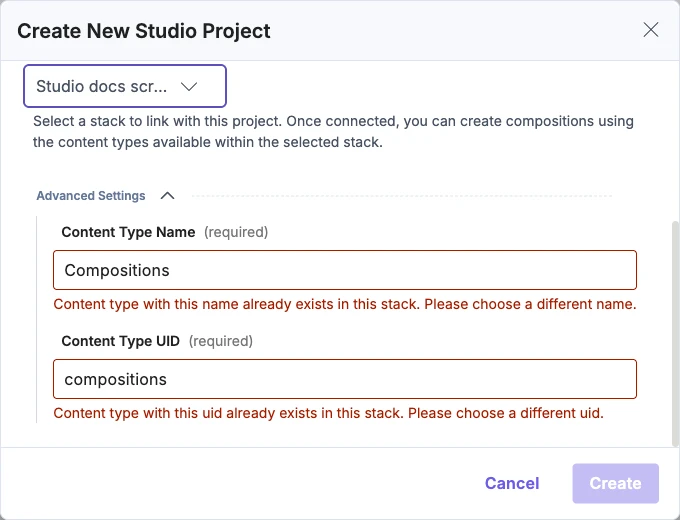
Once you pick a stack, Studio checks the stack's main branch for a content type with the same UID, and one with the same name. If either exists, Studio opens Advanced Settings and shows the error under the field.
Studio won't reuse, adopt or merge a content type that already exists. Give the new project a name and UID of its own. For a second project on the Blog stack, type the name Blog compositions, and Studio fills in the UID blog_compositions.
This is how you run a second project on the same stack: each project gets its own content type.
If it doesn't work
| What you see | What to do |
|---|---|
| "Content type with this uid already exists in this stack. Please choose a different uid." | Change Content Type UID under Advanced Settings. |
| "Content type with this name already exists in this stack. Please choose a different name." | Change Content Type Name, then check the UID it fills in. |
| "Content Types Don't Match" on the canvas | Your site's contentTypeUid isn't this project's content type UID. Copy the UID from Settings and set it in your Studio SDK. See Install the Studio SDK. |