Configure your project
Set your project's Configuration tab so the canvas loads your own site instead of Studio's playground. Do it once, right after you create the project, and before you open a section.
The example on this page is the Blog project. It previews from the local environment, whose English URL is http://localhost:3106, and opens sections at /canvas.
Prerequisites
- A Studio project connected to your stack. See Create a project.
- An environment with a URL for your language. Your stack needs the environment you'll preview from, such as
local, with a URL set for English. You add or change that URL in Contentstack, not in Studio. See Contentstack's documentation on environments. - A site running at that URL. To follow along with the example, run the Blog example site on
http://localhost:3106. See Run the example site.
What this is and what you get
The Configuration tab tells Studio which environment and language to load your site from, and which path on your site opens sections. Everyone who works on the project shares these settings.
Until the project has a Base URL, the canvas uses Studio's playground instead of your site, and Deploy is disabled. Once you've set this tab, sections and templates open on your site.
For every field on the Settings page, see Project settings.
Open the Configuration tab
-
Open the project, then select Settings.
Settings opens on the General tab.
-
Select Configuration, below General.
The tab has one area, Environment and Localization.
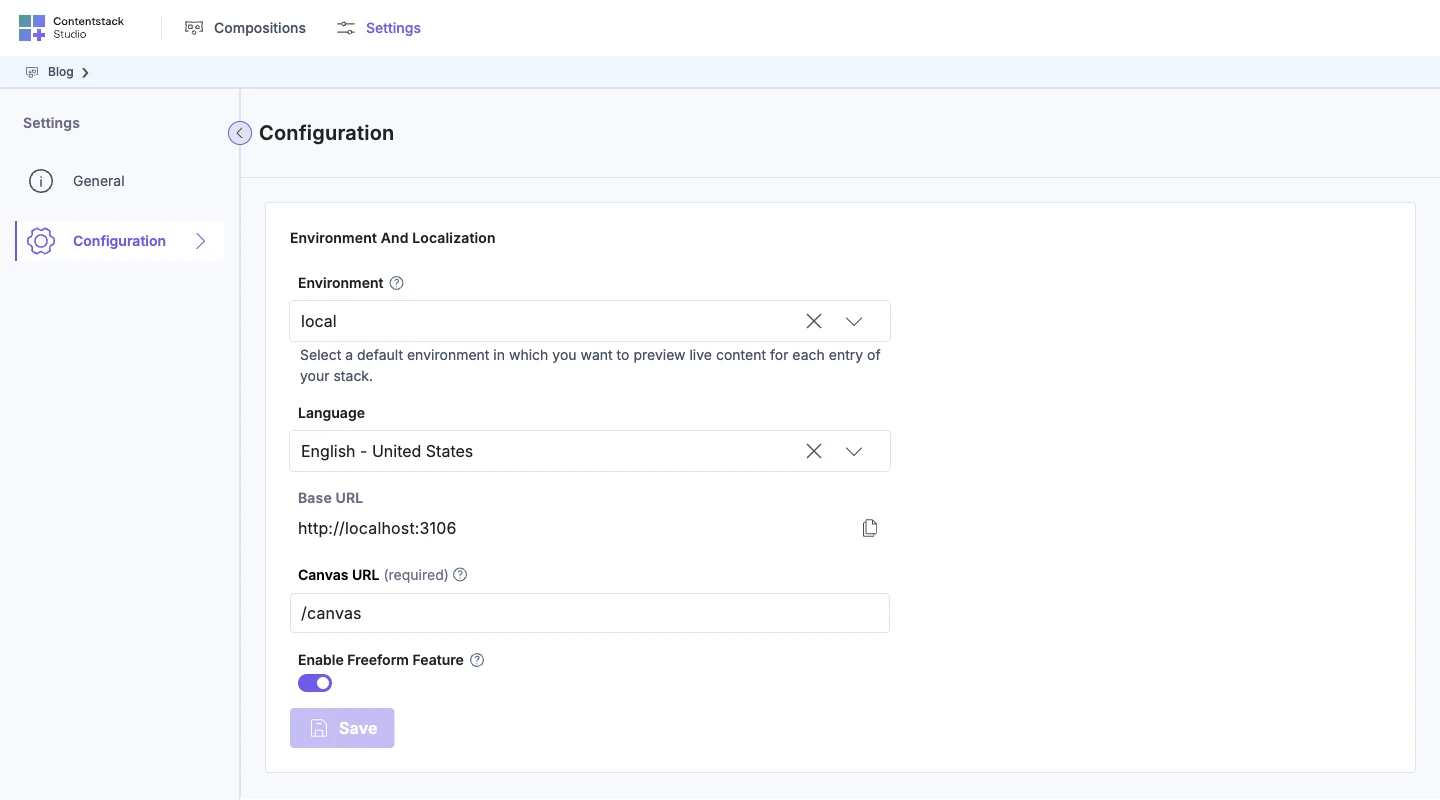
The canvas top bar has a Configuration icon with the same fields. It isn't the same as this tab: it changes the environment and language only in your own browser. See How the canvas Configuration dialog differs.
Pick the environment
Open the Environment list and pick the environment to preview from, such as local. The list shows the environments on your stack, by name.
The help text under it reads "Select a default environment in which you want to preview live content for each entry of your stack."
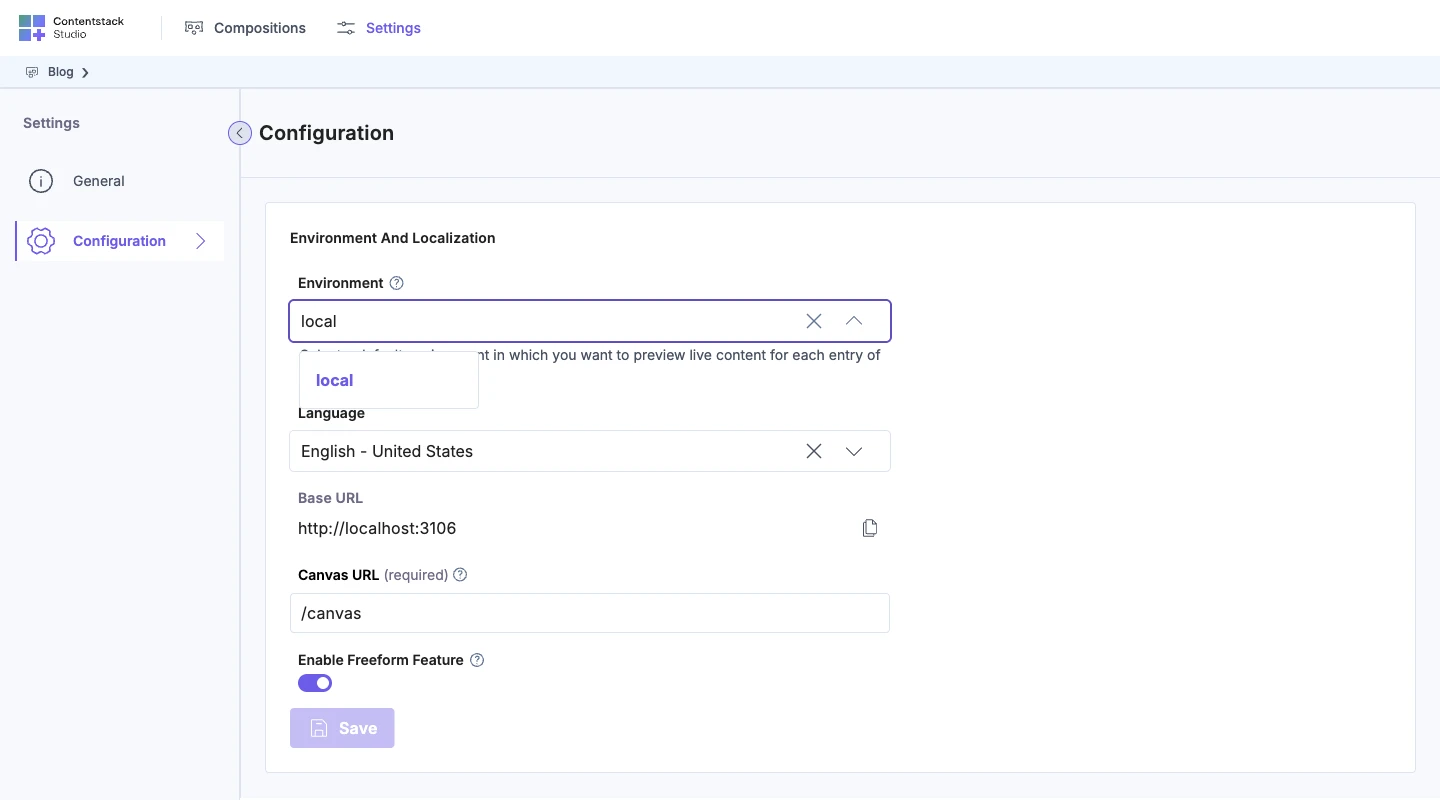
The environment, with the language, picks the Base URL, which is the site the canvas loads. A Template URL that uses {{environment}} gets this environment's name.
Pick the language
Open the Language list and pick a language, such as English. The list shows the languages on your stack.
The language picks which of the environment's URLs the canvas loads. For local and English, that's http://localhost:3106.
Studio says Language, and the SDK and the API say locale. They're the same thing.
Check the Base URL
You don't type the Base URL. It appears once you've picked both an environment and a language.
It shows the environment's URL for the selected language, such as http://localhost:3106, with a Copy URL button. To change it, change the environment's URL for that language in Contentstack.
While you build locally, set the environment's English URL to your dev server, as the Blog project's local environment does with http://localhost:3106. The Base URL then points the canvas at your dev server.
Run the example site
The Blog example site is a small React app. It serves the canvas at /canvas and the Blog post template at /blog/{{entry.slug}}, on http://localhost:3106. Run it to follow these pages with the example. If you're setting up your own app, skip this section.
Download the example site (blog-canvas.zip)
You need Node.js 18 or later, and your stack's API key, a delivery token and its preview token. You find them in your stack's settings, under Tokens.
-
Unzip
blog-canvas.zip, and open a terminal in theblog-canvasfolder. -
Install its packages:
npm install -
Copy the example settings file to
.env.local:cp .env.example .env.local -
Open
.env.localand fill in your stack's values:Setting What to put in it VITE_CS_API_KEYYour stack's API key. VITE_CS_DELIVERY_TOKENA delivery token for the localenvironment.VITE_CS_PREVIEW_TOKENThe preview token for that delivery token. VITE_CS_ENVIRONMENTThe environment's name. It's set to localalready.VITE_CS_DELIVERY_HOST,VITE_CS_PREVIEW_HOST,VITE_CS_APP_HOSTYour region's hosts. They're set for AWS North America. For other regions, see Contentstack's documentation on regions. Never commit
.env.local. It holds your tokens. -
Start the site:
npm run dev -
Open
http://localhost:3106/health. It answers"ok": truewhen the site is running.
Leave the site running while you use Studio. The canvas loads it from the Base URL. If it isn't running, a section shows "Studio Can't Connect to Your Site". See Mount the section preview route.
Enter the Canvas URL
In Canvas URL, enter the path of the route on your site that renders the Studio canvas, such as /canvas. The field is marked (required).
- Start the path with
/. Studio joins the Canvas URL to the Base URL as written, so sections open athttp://localhost:3106/canvas. - Only sections use it. Templates open at their own Template URL.
- Give it a route of its own. If the Canvas URL points at a real page, sections show "A Page Loaded, Not the Canvas". See Mount the section preview route.
What the canvas does without a Base URL or Canvas URL
The two settings fail in different ways.
| Missing | What you see |
|---|---|
| A Base URL | The canvas loads Studio's playground instead of your site. Deploy is disabled, and its tooltip reads "Deployment is disabled in the playground." Open in new tab is disabled too. |
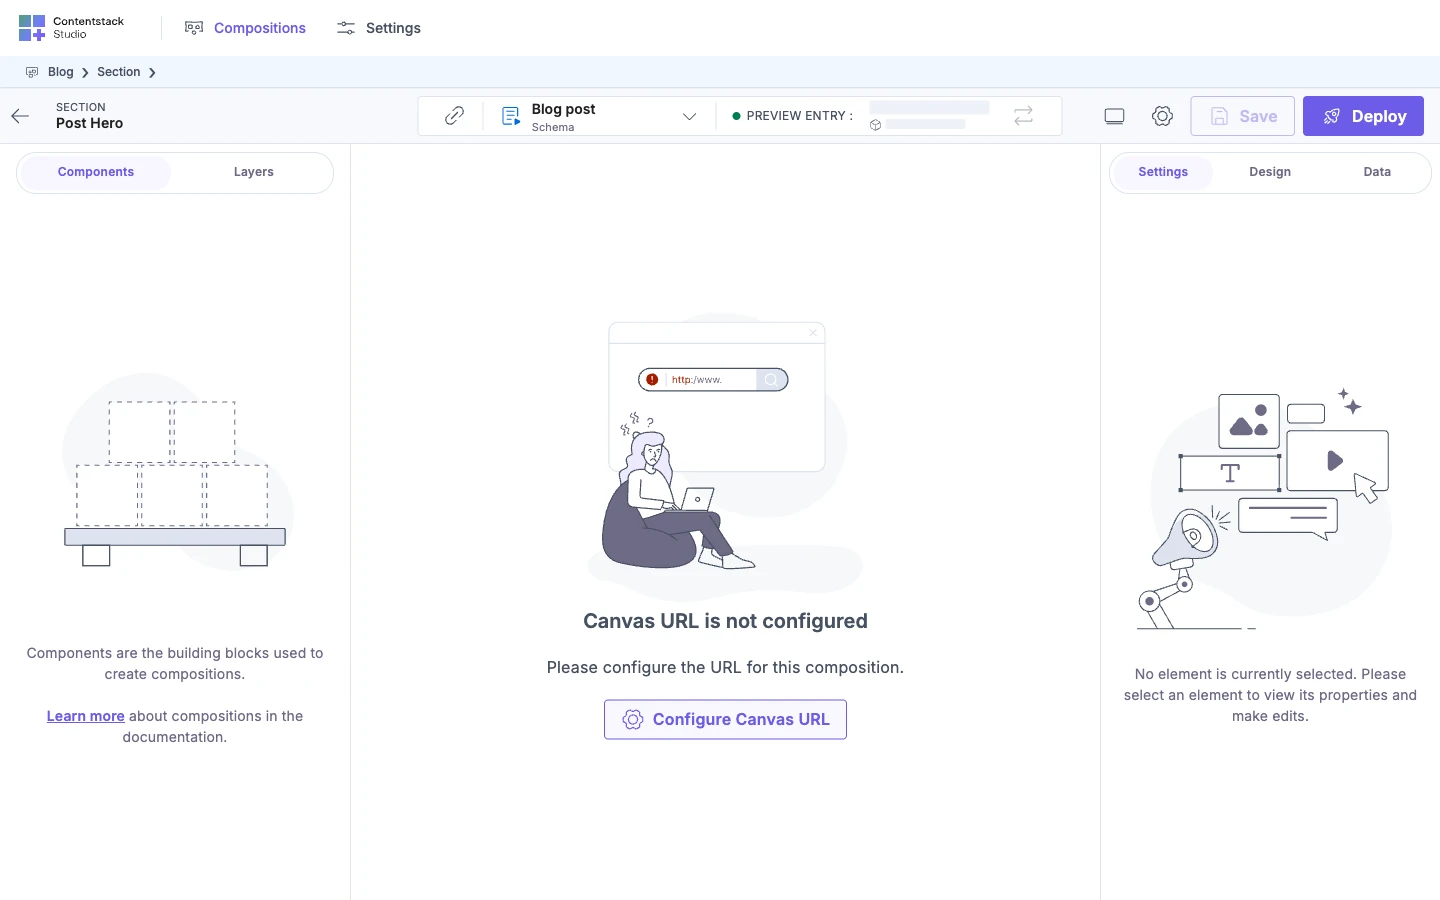
| A Canvas URL | A section shows the "Canvas URL is not configured" card. Its Configure Canvas URL button opens this tab. |

To use the playground on purpose, see Try Studio without an app.
Turn on Freeform if you need it
To let the project have freeform templates, turn on Enable Freeform Feature. The toggle is at the bottom of the tab, above Save. Freeform is off for a project until you turn it on.
Its help text reads "Create compositions without a Content Type and access data beyond the linked entry."
The toggle saves with the rest of the tab. You need a Base URL and a Canvas URL before you can turn it on.
What changes in Studio when Freeform is off
| Where | When it's off | When it's on |
|---|---|---|
| Creating a template | Studio goes straight to Create Connected Template. | Studio asks you to choose between Connected Template and Freeform. |
| The right panel on a connected template or a section | Only the Settings panel, with no tabs. | The Settings, Design and Data tabs. |
| The guided first steps on an empty canvas | Bind Data on a template, or Connect A Schema on a section. | Pin Data is offered as well. |
A freeform template that already exists, such as About, keeps all its tabs when Freeform is off. For the full list of flags, see Feature flags.
Save and check your settings
Click Save. It stays disabled until you change something, and until the tab has an environment, a language, a Base URL and a Canvas URL.
If you leave the tab with unsaved changes, Studio warns you: "Unsaved changes will be lost if you leave this page. What do you want to do next?"
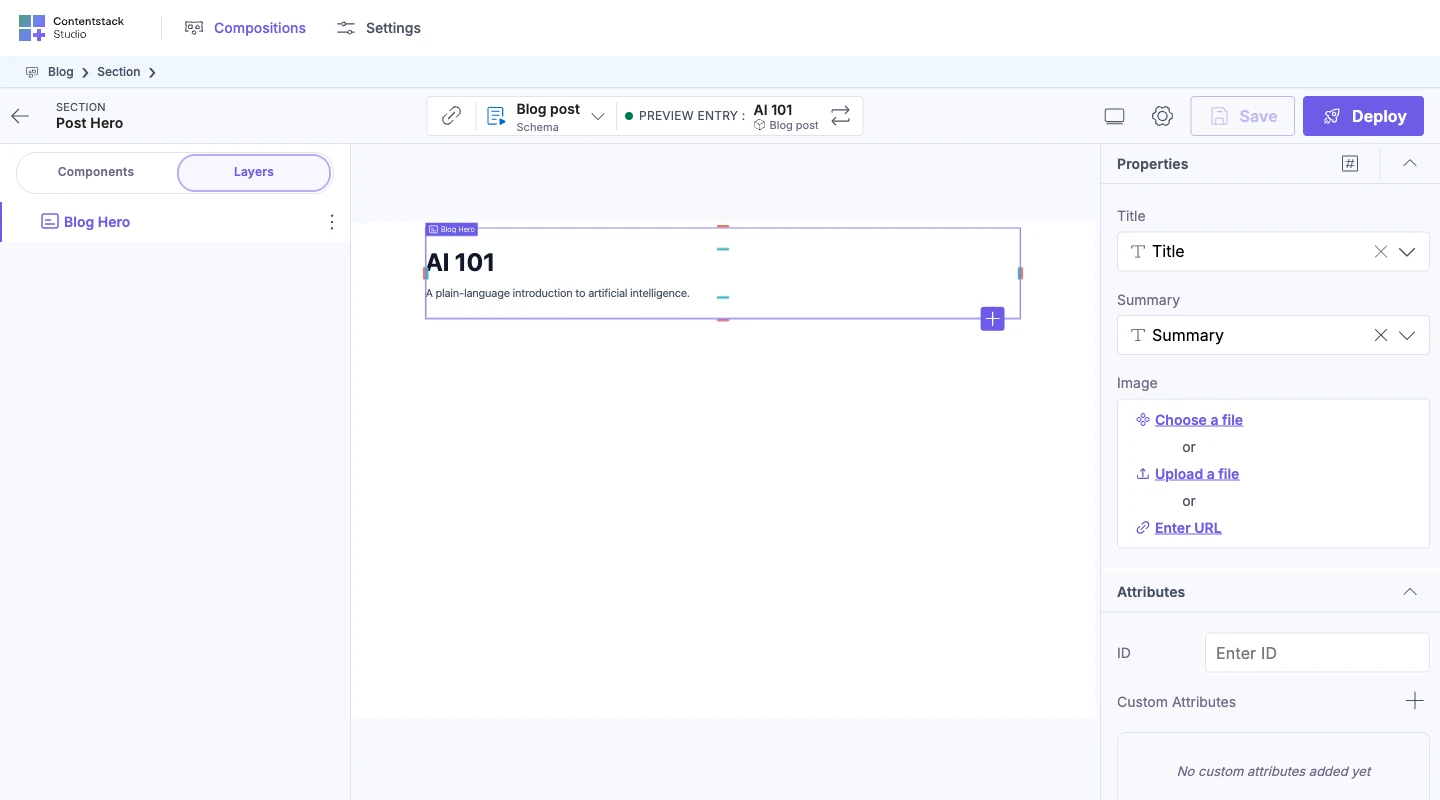
To check the settings took, open a section, such as Post hero. The canvas loads your site at http://localhost:3106/canvas. For the full set of checks, see Verify your setup end to end.
If it doesn't work
| What you see | What it means | Fix |
|---|---|---|
| "No base URL found!" under Base URL, and Save is disabled | The environment has no URL for the selected language. | Add a URL for that language to the environment in Contentstack. Studio can't fix it. |
| No Base URL or Canvas URL field, and Save is disabled | You haven't picked an environment and a language yet. | Pick both. |
| "Canvas URL is not configured" on a section | The project's Canvas URL is empty. | Click Configure Canvas URL, and enter the path. |
| Deploy is disabled, with the tooltip "Deployment is disabled in the playground." | The project has no Base URL. | Pick an environment and a language that have a URL. See Save, preview, deploy. |
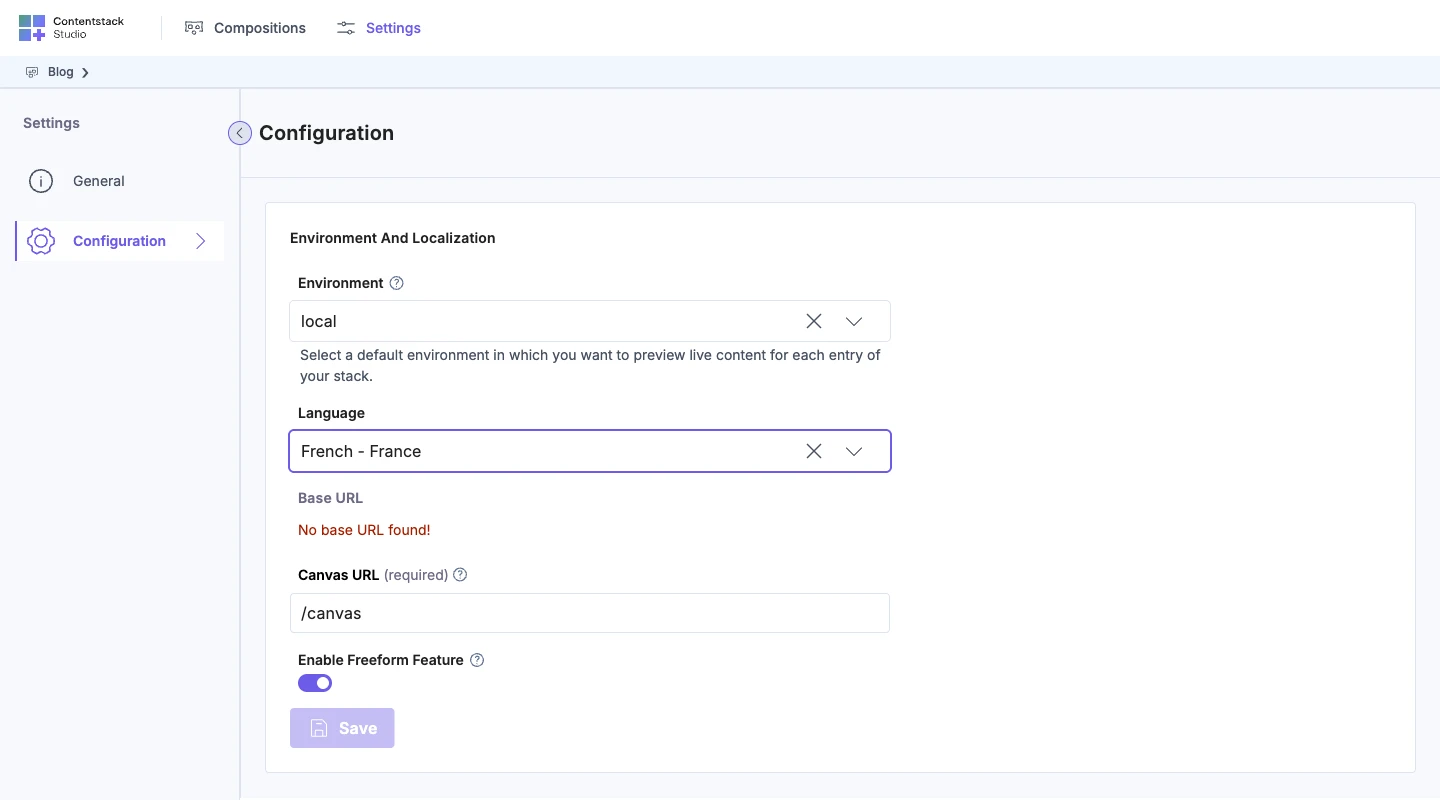
Checklist for your project configuration
Before you continue, check that:
- Environment is set, such as
local. - Language is set, such as English - United States.
- Base URL shows your site's URL, such as
http://localhost:3106, and not "No base URL found!". - Your site is running at the Base URL. For the example,
http://localhost:3106/healthanswers"ok": true. See Run the example site. - Canvas URL is set and starts with
/, such as/canvas. - Enable Freeform Feature is on, if the project needs freeform templates.
- You clicked Save, and it's disabled again.
- A section, such as Post hero, opens with the canvas loading your site at
http://localhost:3106/canvas.
Next, choose CSR or SSR.