Set up Studio with skills
Ask a coding agent to set up Studio in your app, instead of following Install Studio by hand. Use it when you know what Studio needs and want the agent to do the installing.
The example on this page is the Blog app, a Next.js App Router app, set up for the Blog project on the Blog stack in North America.
Each setup step has its own page in Install Studio. The steps aren't repeated here.
Prerequisites
- Everything on the Prerequisites page. You need Studio in your organization, a stack, an environment and a React 18 or 19 app. See Prerequisites.
- A supported coding agent. Claude Code and Cursor both work.
- A project in Studio. The example uses Blog.
What this is and what you get
You ask in plain English. The studio skill picks the skill that does the task.
"Set up Studio in this app" runs convert-project-to-studio. It installs the Studio SDK, adds the canvas route at /canvas (the section preview route), and adds a catch-all route for your templates.
Your existing pages keep rendering as before. Studio serves only the URLs your own routes don't match.
The setup doesn't register your components, and it doesn't build any sections or templates.
Install the skills and connect your stack
You do these once per project.
-
Install the skills from Contentstack's official agent skills bundle. For Claude Code, run
/plugin marketplace add contentstack/contentstack-agent-skills, then/plugin install contentstack-skills@contentstack-skills. For other agents, see Install the skills.When you ask "Which Contentstack skills do you have available?", the agent's list includes
studio. -
Connect the Contentstack MCP server, so the agent works in your stack with your own login. See Connect skills to your stack.
The agent reads the Blog stack's content types and tells you which skills now run through the server.
Before you point an agent at a real stack, read Is it safe to let an agent run skills?
Ask your agent to set up Studio
In the Blog app's root folder, ask your agent:
Set up Studio in this app.
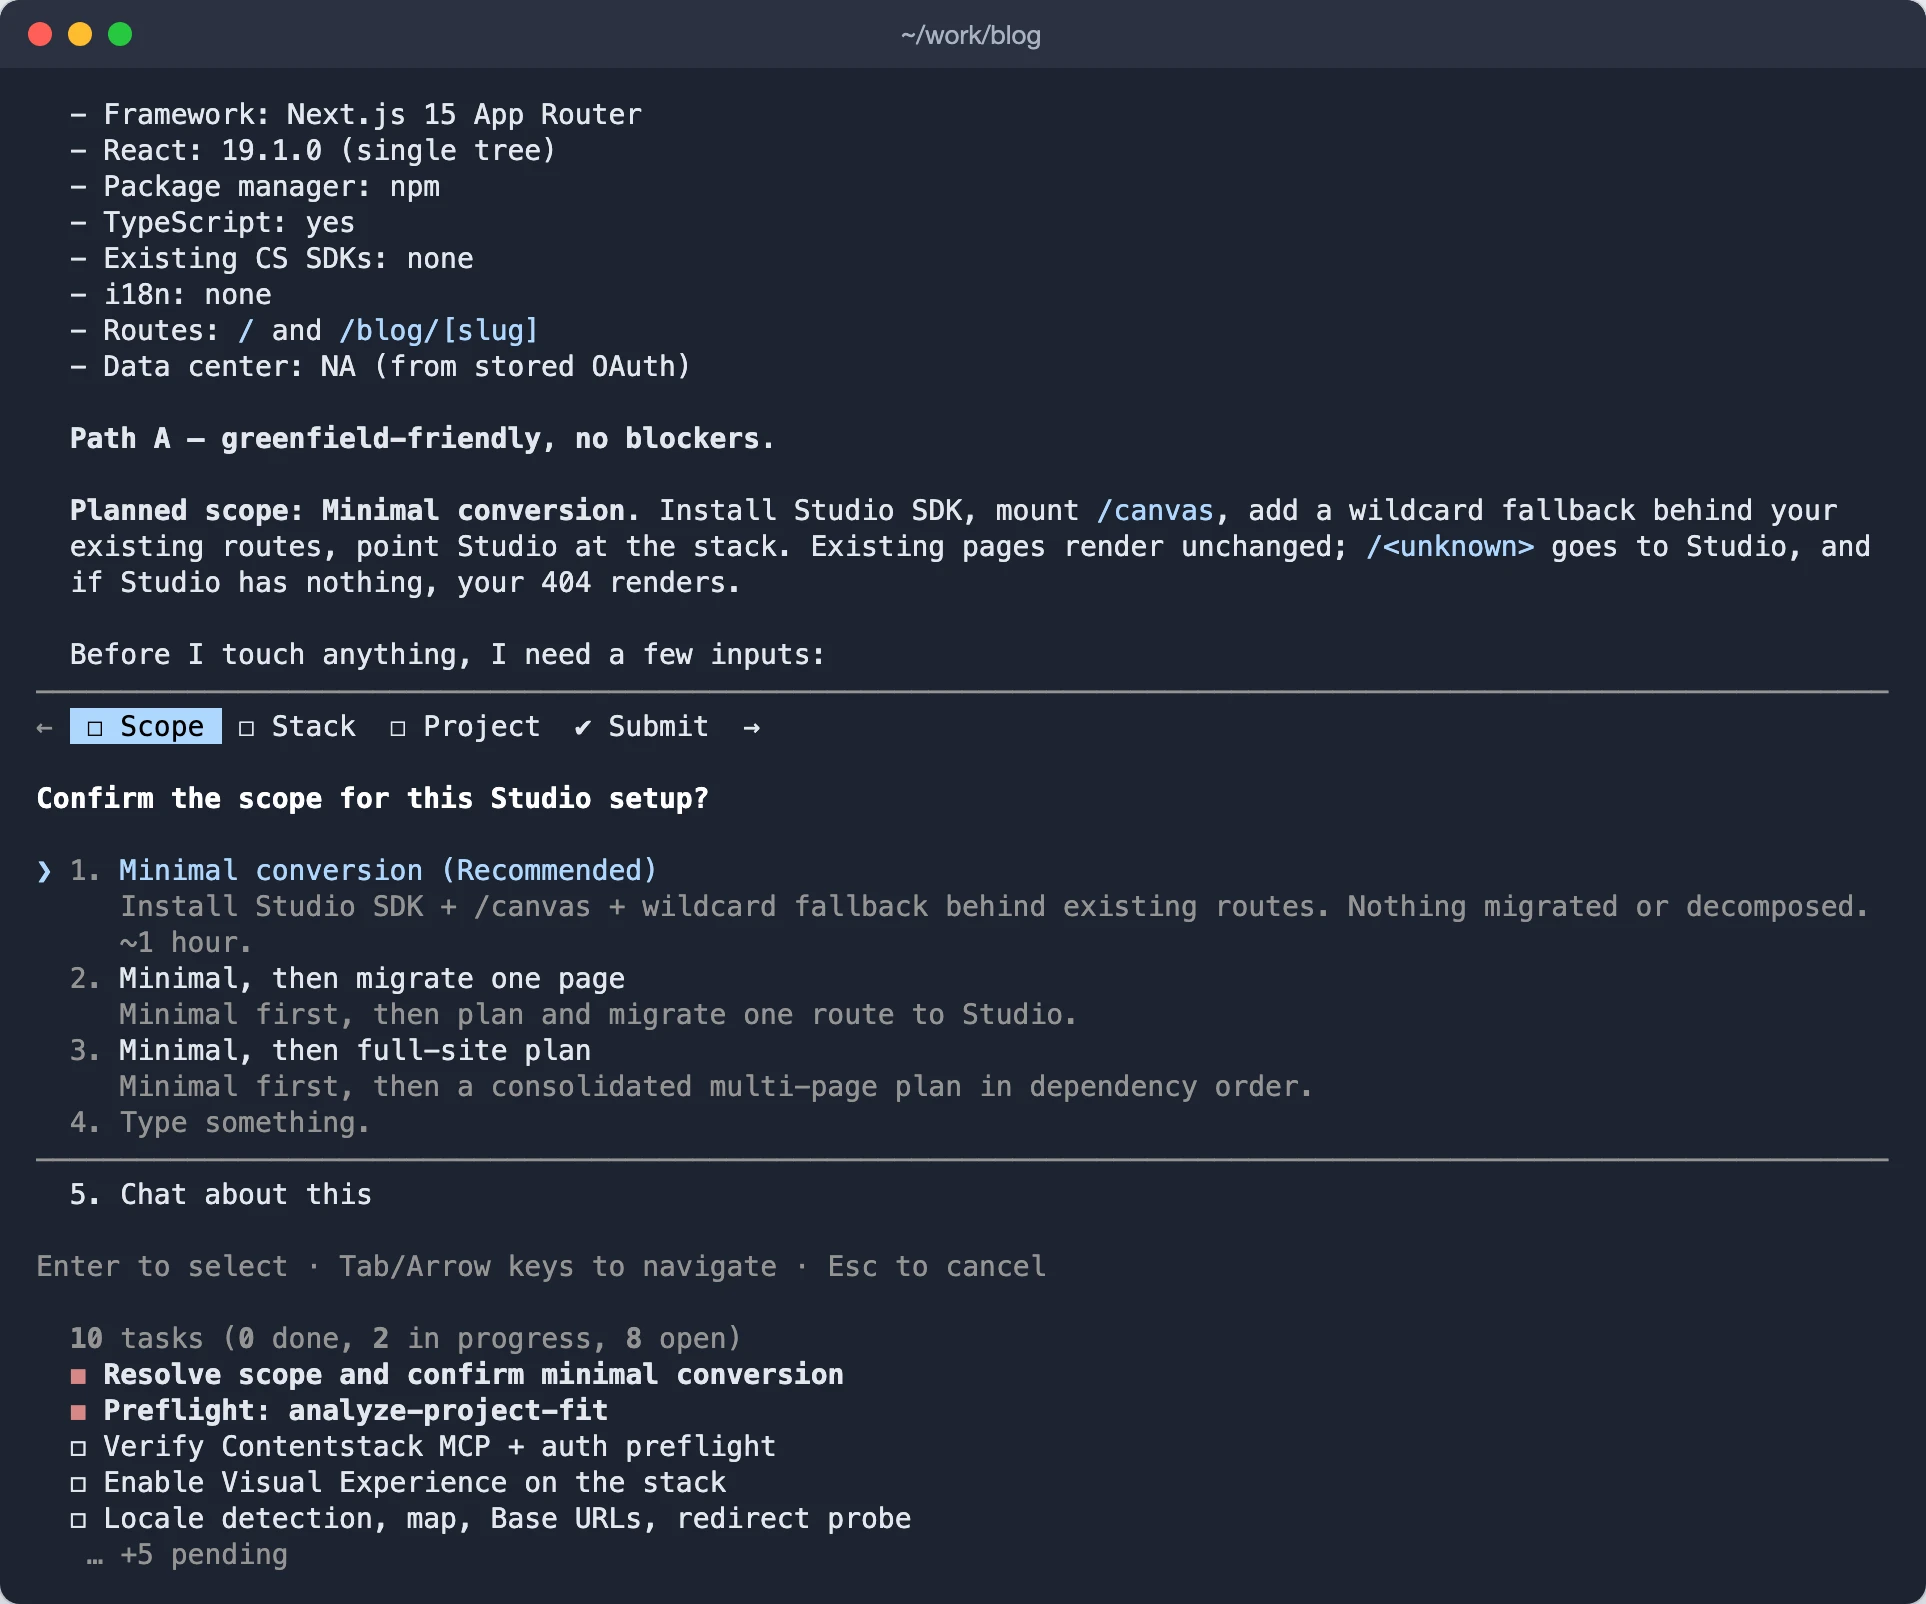
The agent works through the setup and asks you when it needs you:
- It asks which setup you want, if your request is unclear. The choices are the minimal setup, the minimal setup plus one page, or a plan for the whole site. Minimal is the default.
- It checks your project first. It stops if your app can't run Studio yet, such as when the app has two copies of React.
- It asks you to log in, if you aren't already. You run the Contentstack login command yourself, because the login needs your terminal and a browser.
- It picks the Studio project. If your organization has more than one project, it asks which one the app renders. If it has one, it tells you which project it's using. It never guesses.
- It makes sure Live Preview is on for the stack. It does this before it changes your app.
- It checks your app's languages. If your app serves more than one language, it shows a table of your app's languages against the stack's, and waits for your yes.
- It asks before it changes an environment's URLs. These are the URLs in your stack.
- It sets the project's Canvas URL. The value is
/canvas.
When it's done, it prints a report that starts "Minimal conversion done." The report lists the canvas route, the catch-all route, the 404 for visitors and the project's settings.
Run one setup step at a time
To do one step on its own, ask for that step. Most skills match one setup page, so you can mix skills and manual steps.
| Ask | The agent uses | The step by hand |
|---|---|---|
| "Install Studio's SDK only" | install-studio. It installs the packages and adds the init code, but adds no routes. | Install the Studio SDK |
| "Set up the canvas route" | setup-section-preview | Mount the section preview route |
| "Wire the catch-all template route" | setup-template-preview-routes | Wire template preview routes |
| "Enable Live Preview" | enable-visual-experience | Contentstack's own docs on Live Preview |
| "I need HTTPS locally" | setup-local-https-canvas | Serve your canvas over HTTPS locally |
Check the setup the agent made
-
Ask your agent "Is Studio working?"
The agent runs
verify-setupand reports each check as passed, failed or unverified. A check it couldn't run in a browser is unverified, not passed. -
Run the checks in Verify your setup end to end yourself, in Studio.
Manual steps or the Studio CLI instead of skills
- To understand each change as you make it. Follow Install Studio by hand.
- To run a command the same way every time. Use the Studio CLI. It doesn't install the SDK or add routes, so it can't do this setup. Use it once Studio is set up, for jobs such as registering components or creating sections.
If it doesn't work
-
The agent says it can't reach your stack. Connect the Contentstack MCP server, or log in again. See Connect skills to your stack.
-
The setup stopped partway, such as at the login. Reply in the same session, for example "OAuth done". The agent resumes at the step it stopped on.
-
You want to run the setup again. The setup doesn't save its progress to a file. Check your app's changes with git before you run it again. See Is it safe to let an agent run skills?
-
The agent says "the skill pack looks mis-installed". It names the skill it couldn't find. Install the skills again, as Install the skills describes.