Enterprise Setup From Install to First Authored Page
The end-to-end recipe for enterprise teams shipping Studio with their own component library. From a blank app to authors composing pages against your design system, in roughly 30 minutes.
Before you start: check that Studio is enabled for your organization. 10-second app-switcher check. None of the steps below produce a working canvas if Studio isn’t turned on.
This recipe assumes:
- You have a Contentstack stack with at least one content type (e.g. blog_post) with a few entries
- You have an existing React component library in your app
- You have a running app dev server (Next.js, Vite, Remix, or any React framework)
Do It With a Skill
curl -fsSL https://studio-documentation.contentstackapps.com/install.sh | sh
Then:
“Install Studio in this project” “Register my Button, Card, and Hero components” “Add the canvas route and a template route for /blog/[slug]”
Each step has a dedicated skill that walks the same flow.
What You’ll Have at the End
- Studio + Live Preview + Delivery SDKs installed and wired
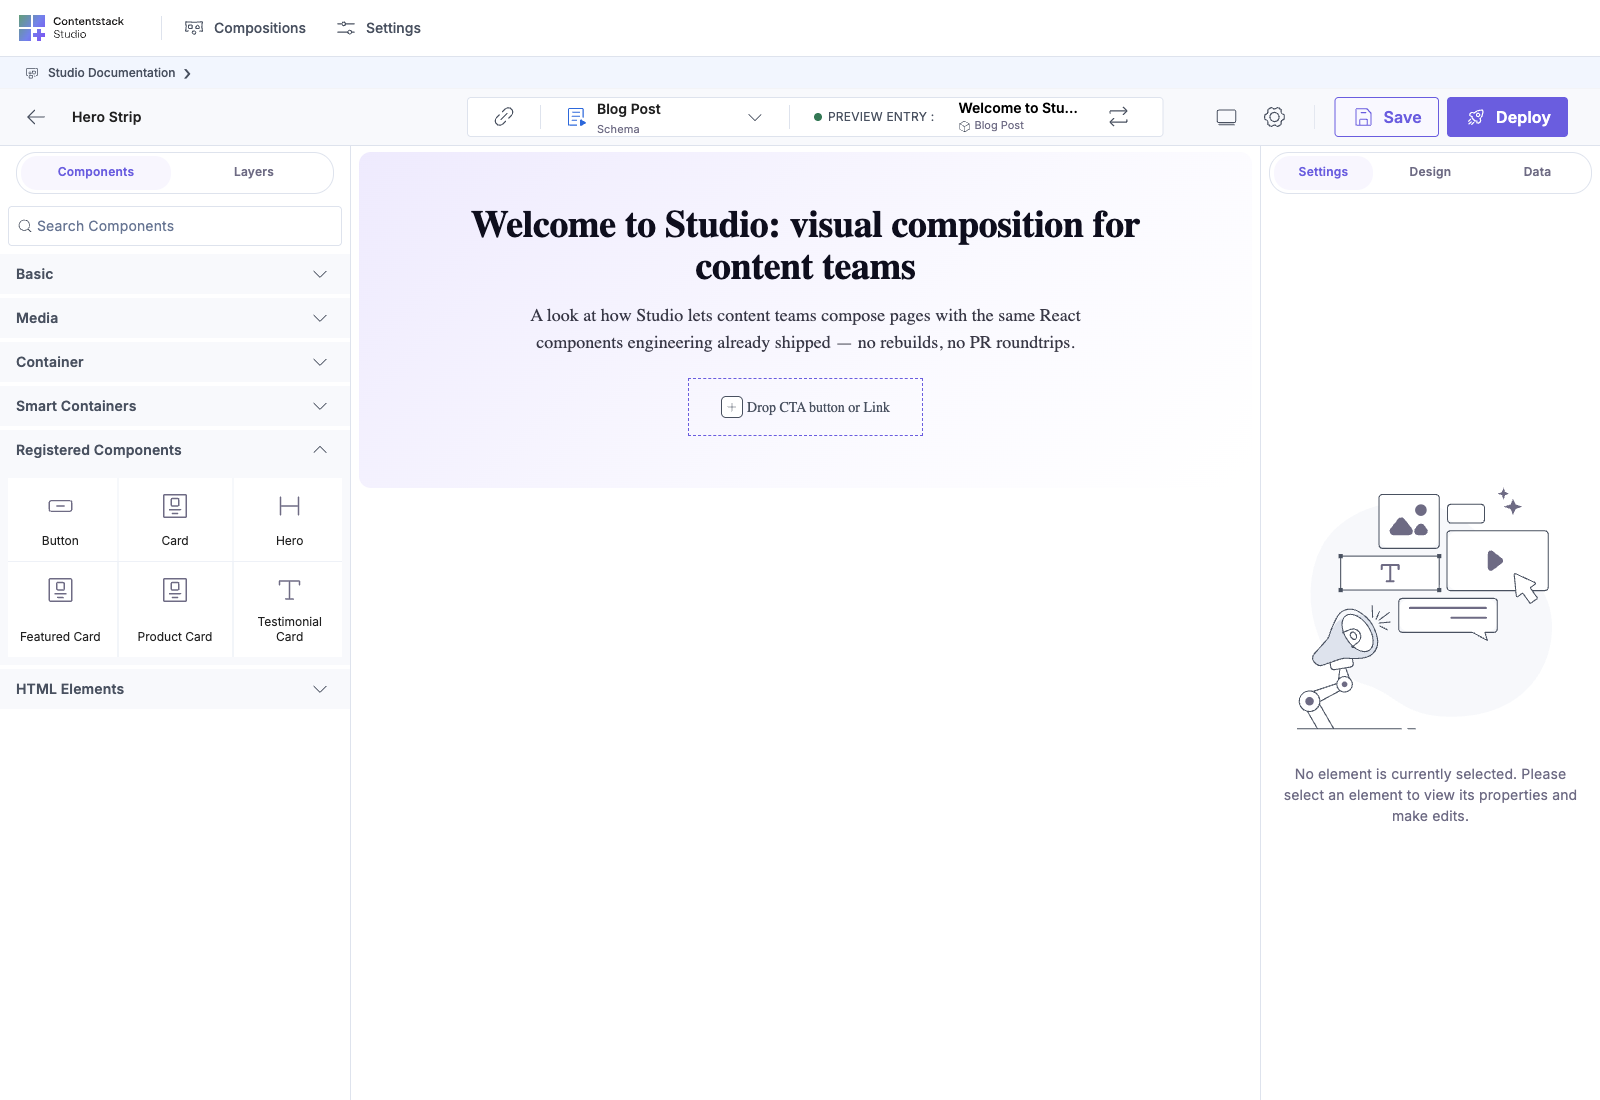
- Your Button, Card, and Hero registered with Studio
- A Studio project linked to your stack
- A canvas route + a template preview route
- A linked template that authors can edit, with bindings to your blog_post entries
- The page rendering at /blog/<slug> on your site with real entry data
Step 1: Install the Three SDKs
In your app:
npm install @contentstack/delivery-sdk @contentstack/live-preview-utils @contentstack/studio-react
Create src/lib/contentstack.ts:
import Contentstack from "@contentstack/delivery-sdk";
import ContentstackLivePreview from "@contentstack/live-preview-utils";
import { studioSdk } from "@contentstack/studio-react";

export const stack = Contentstack.stack({
  apiKey:        process.env.NEXT_PUBLIC_CONTENTSTACK_API_KEY!,
  deliveryToken: process.env.NEXT_PUBLIC_CONTENTSTACK_DELIVERY_TOKEN!,
  environment:   process.env.NEXT_PUBLIC_CONTENTSTACK_ENVIRONMENT!,
  region:        "us",
  live_preview: {
    enable:        true,
    preview_token: process.env.NEXT_PUBLIC_CONTENTSTACK_PREVIEW_TOKEN!,
    host:          "rest-preview.contentstack.com",
  },
});

ContentstackLivePreview.init({
  stackDetails: {
    apiKey:      process.env.NEXT_PUBLIC_CONTENTSTACK_API_KEY!,
    environment: process.env.NEXT_PUBLIC_CONTENTSTACK_ENVIRONMENT!,
  },
  clientUrlParams: { host: "app.contentstack.com" },
  editButton: { enable: true },
});

studioSdk.init({
  stackSdk: stack,
  // contentTypeUid set after the Studio project is created in step 4
});

export { ContentstackLivePreview };
Populate .env.local:
NEXT_PUBLIC_CONTENTSTACK_API_KEY=blt7f2b3951e45bd591
NEXT_PUBLIC_CONTENTSTACK_DELIVERY_TOKEN=cs...
NEXT_PUBLIC_CONTENTSTACK_PREVIEW_TOKEN=cs...
NEXT_PUBLIC_CONTENTSTACK_ENVIRONMENT=production
NEXT_PUBLIC_CONTENTSTACK_DEFAULT_LOCALE=en-us
Detail: Install the Studio SDK
Step 2: Register Your Components
// src/lib/studio-components.ts
import { registerComponents } from "@contentstack/studio-react";
import { Button } from "@/components/Button";
import { Card }   from "@/components/Card";
import { Hero }   from "@/components/Hero";
import buttonIcon from "@/assets/icons/button.svg";
import cardIcon   from "@/assets/icons/card.svg";
import heroIcon   from "@/assets/icons/hero.svg";

registerComponents([
  {
    type:        "Button",
    displayName: "Button",
    thumbnailUrl:        buttonIcon,
    component:   Button,
    props: {
      label:   { type: "string", defaultValue: "Click me" },
      href:    { type: "href",   defaultValue: "#" },
      variant: {
        type:         "choice",
        options:      ["primary", "secondary", "ghost"],
        defaultValue: ["primary"],
      },
    },
  },
  {
    type:        "Card",
    displayName: "Card",
    thumbnailUrl:        cardIcon,
    component:   Card,
    props: {
      title:    { type: "string",   defaultValue: "Card title" },
      image:    { type: "imageurl", displayName: "Cover image" },
      body:     { type: "string",   control: "large", defaultValue: "Body copy" },
      ctaLabel: { type: "string",   defaultValue: "Learn more" },
      ctaHref:  { type: "href",     defaultValue: "#" },
    },
  },
  {
    type:        "Hero",
    displayName: "Hero",
    thumbnailUrl:        heroIcon,
    component:   Hero,
    props: {
      headline: { type: "string",   defaultValue: "Welcome" },
      subhead:  { type: "string",   defaultValue: "Short tagline" },
      cover:    { type: "imageurl" },
      cta:      {
        type: "object",
        properties: {
          label: { type: "string", defaultValue: "Get started" },
          href:  { type: "href",   defaultValue: "#" },
        },
      },
    },
  },
]);
Wire it at boot:
// src/lib/contentstack.ts (add at the end)
import "./studio-components";
Detail: Registering components
Step 3: Add the Canvas Route and Template Preview Route
Canvas route, where Studio previews sections:
// app/canvas/page.tsx (Next.js App Router)
"use client";
import { StudioCanvas } from "@contentstack/studio-react";

export default function CanvasRoute() {
  return <StudioCanvas />;
}
Template preview route, a single catch-all that handles every URL (blog posts, product pages, contact, etc.):
// app/[[...slug]]/page.tsx  — Next.js App Router catch-all (CSR variant)
// One file handles every URL; Studio's CDA query resolves which template matches each URL.
"use client";
import { usePathname } from "next/navigation";
import { useCompositionData, StudioComponent } from "@contentstack/studio-react";

export default function StudioRoute() {
  const pathname = usePathname();
  const { specOptions, isLoading, error } = useCompositionData({ url: pathname });

  if (isLoading) return <Loading />;
  if (error)     return <ErrorState message={error instanceof Error ? error.message : String(error)} />;
  if (!specOptions?.spec) return <NotFound />;
  return <StudioComponent specOptions={specOptions} />;
}
No per-template routes (e.g. app/blog/[slug]/page.tsx) are needed. The catch-all covers all of them. Add opt-out routes (/api/*, /admin/*) ahead of the catch-all only if you need them.
Detail: Section preview route · Template preview routes · CSR vs. SSR for SSR / RSC variants.
Step 4: Create the Studio Project
In Studio:
- Select + New Project, name it (e.g. “Marketing Site”), and connect it to your stack
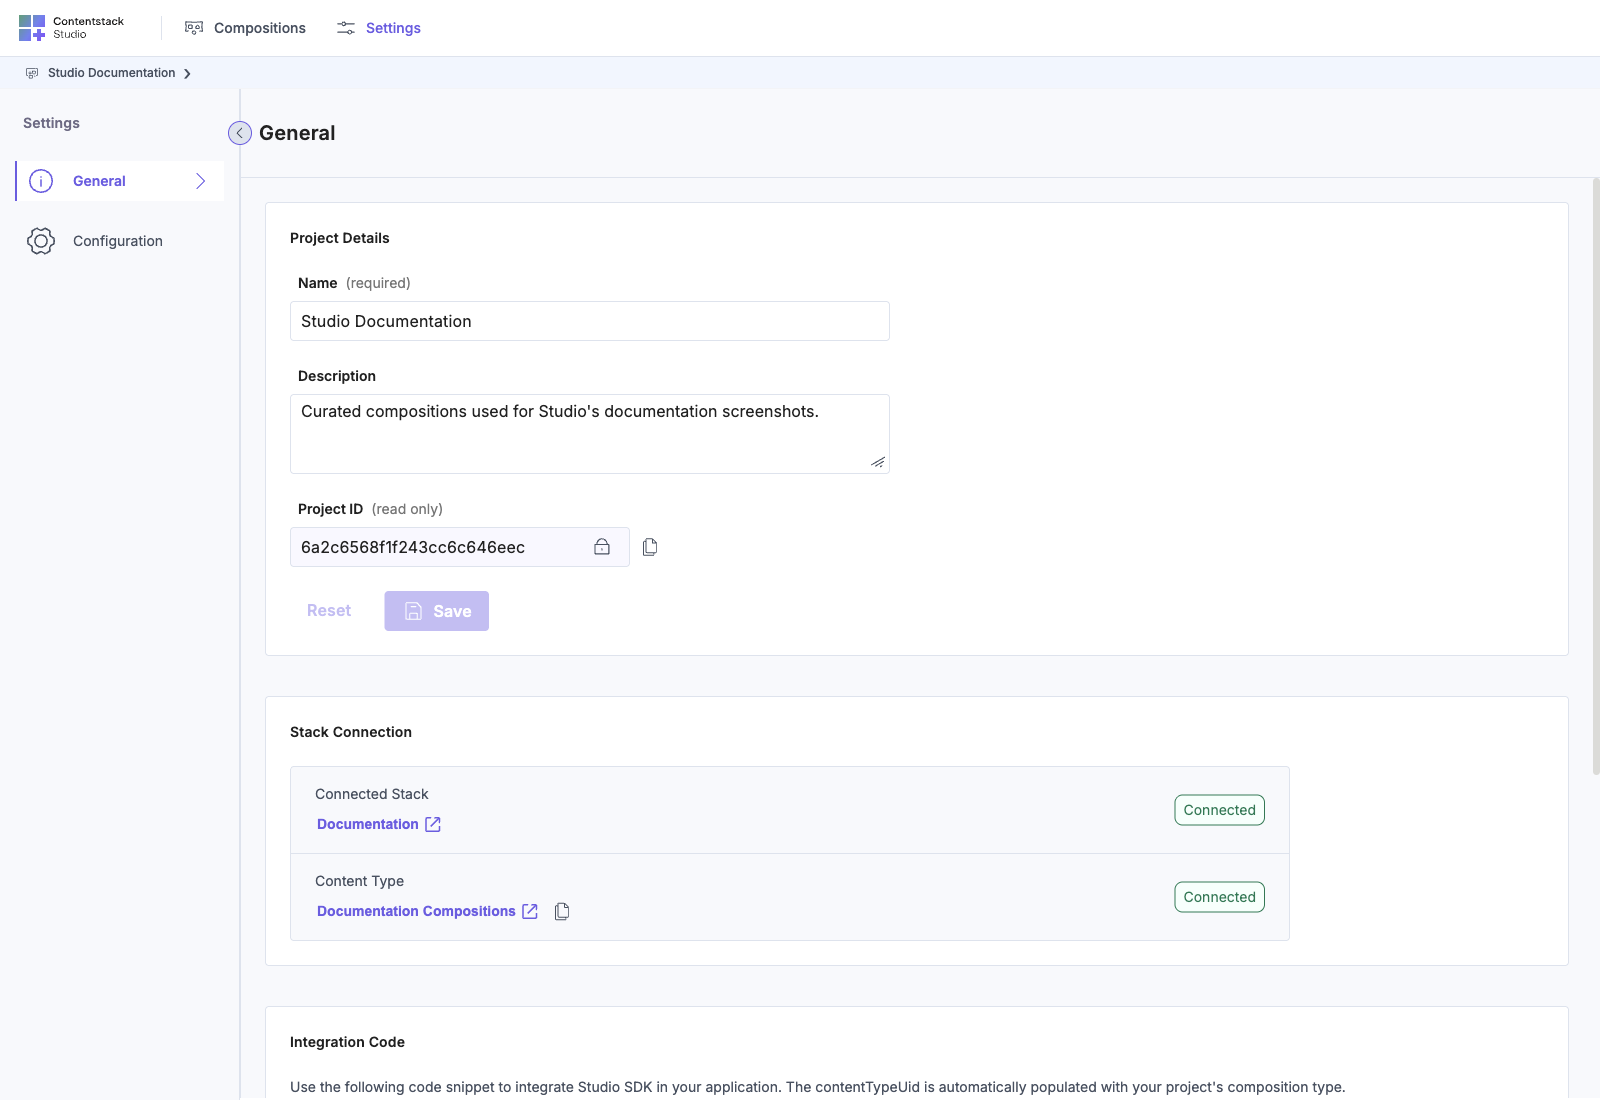
- In Settings, open General and note the Project ID
- In Settings, open Configuration:
- Environment: production (or your dev environment)
- Language: English - United States (en-us)
- Canvas URL: /canvas
- Save
Update studioSdk.init with the now-known content type:
studioSdk.init({
  stackSdk: stack,
  contentTypeUid: "compositions",   // the CT Studio created in your stack
});
Restart your dev server.
Detail: Create a Studio project
Step 5: Build Your First Linked Template
In Studio:
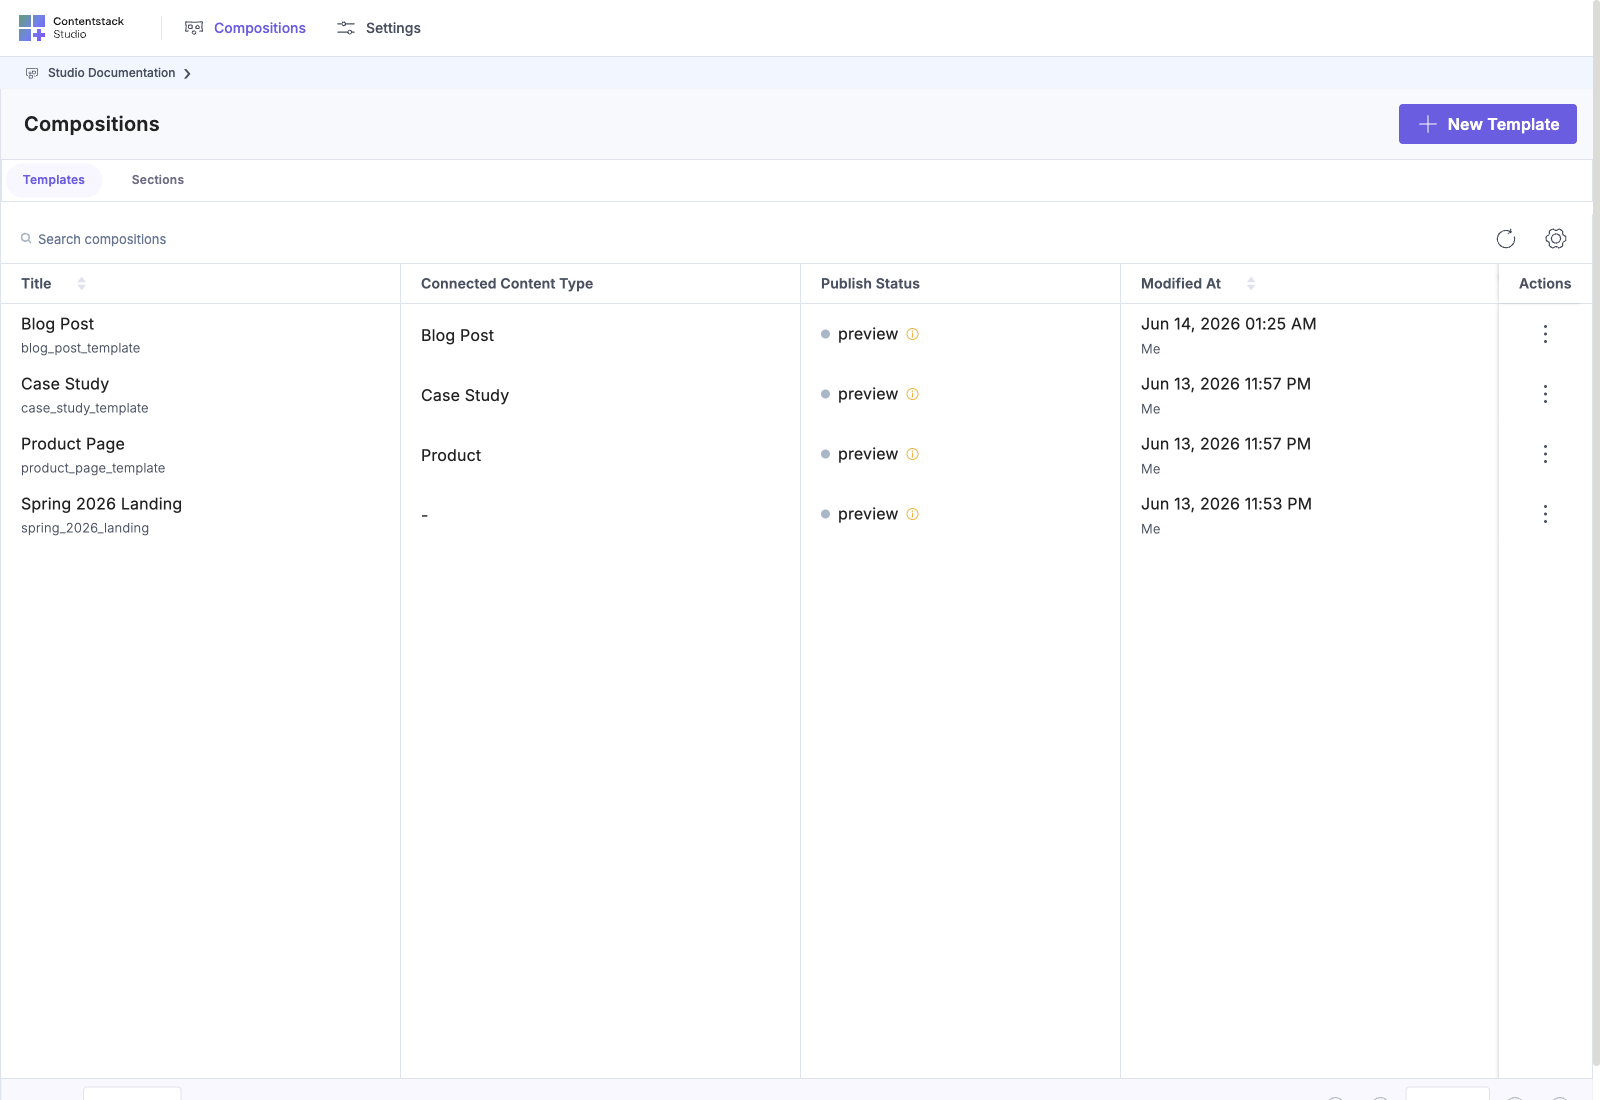
- In Compositions, open the Templates tab and select + New Template
- Pick the blog_post content type when prompted
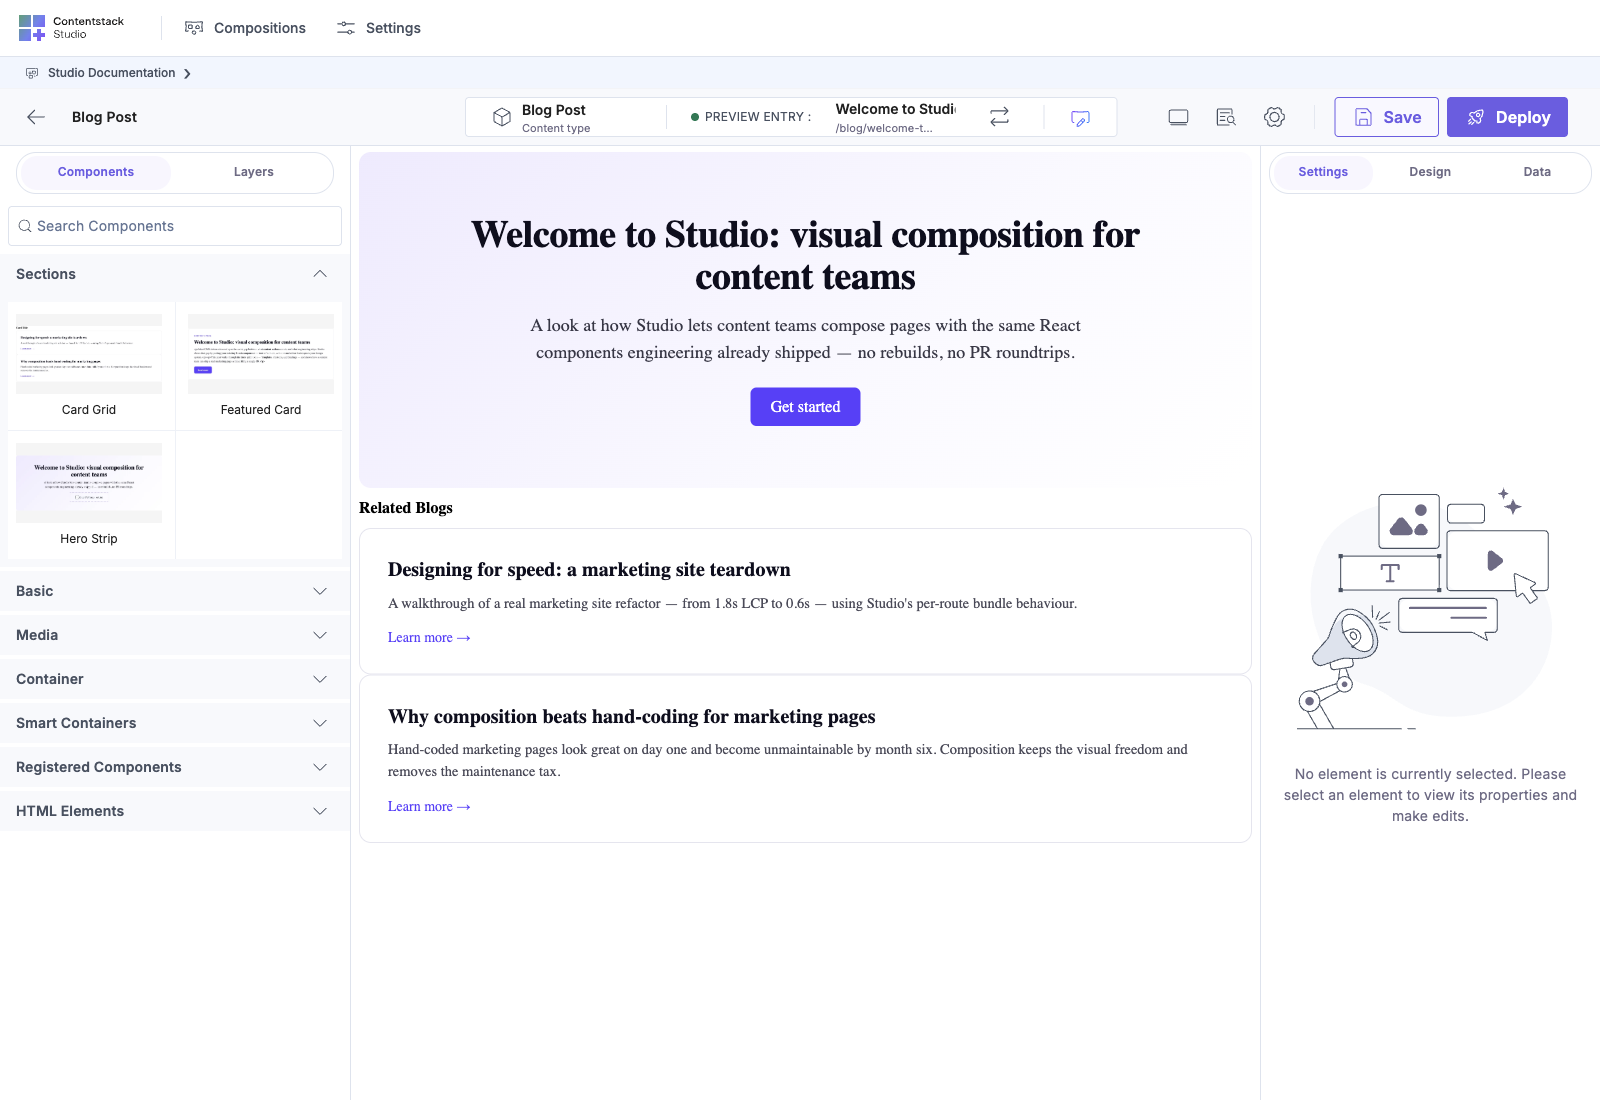
- Studio opens the canvas, a blank composition connected to blog_post
- From the Components palette (left), drag your Hero onto the canvas
- Select the Hero on the canvas
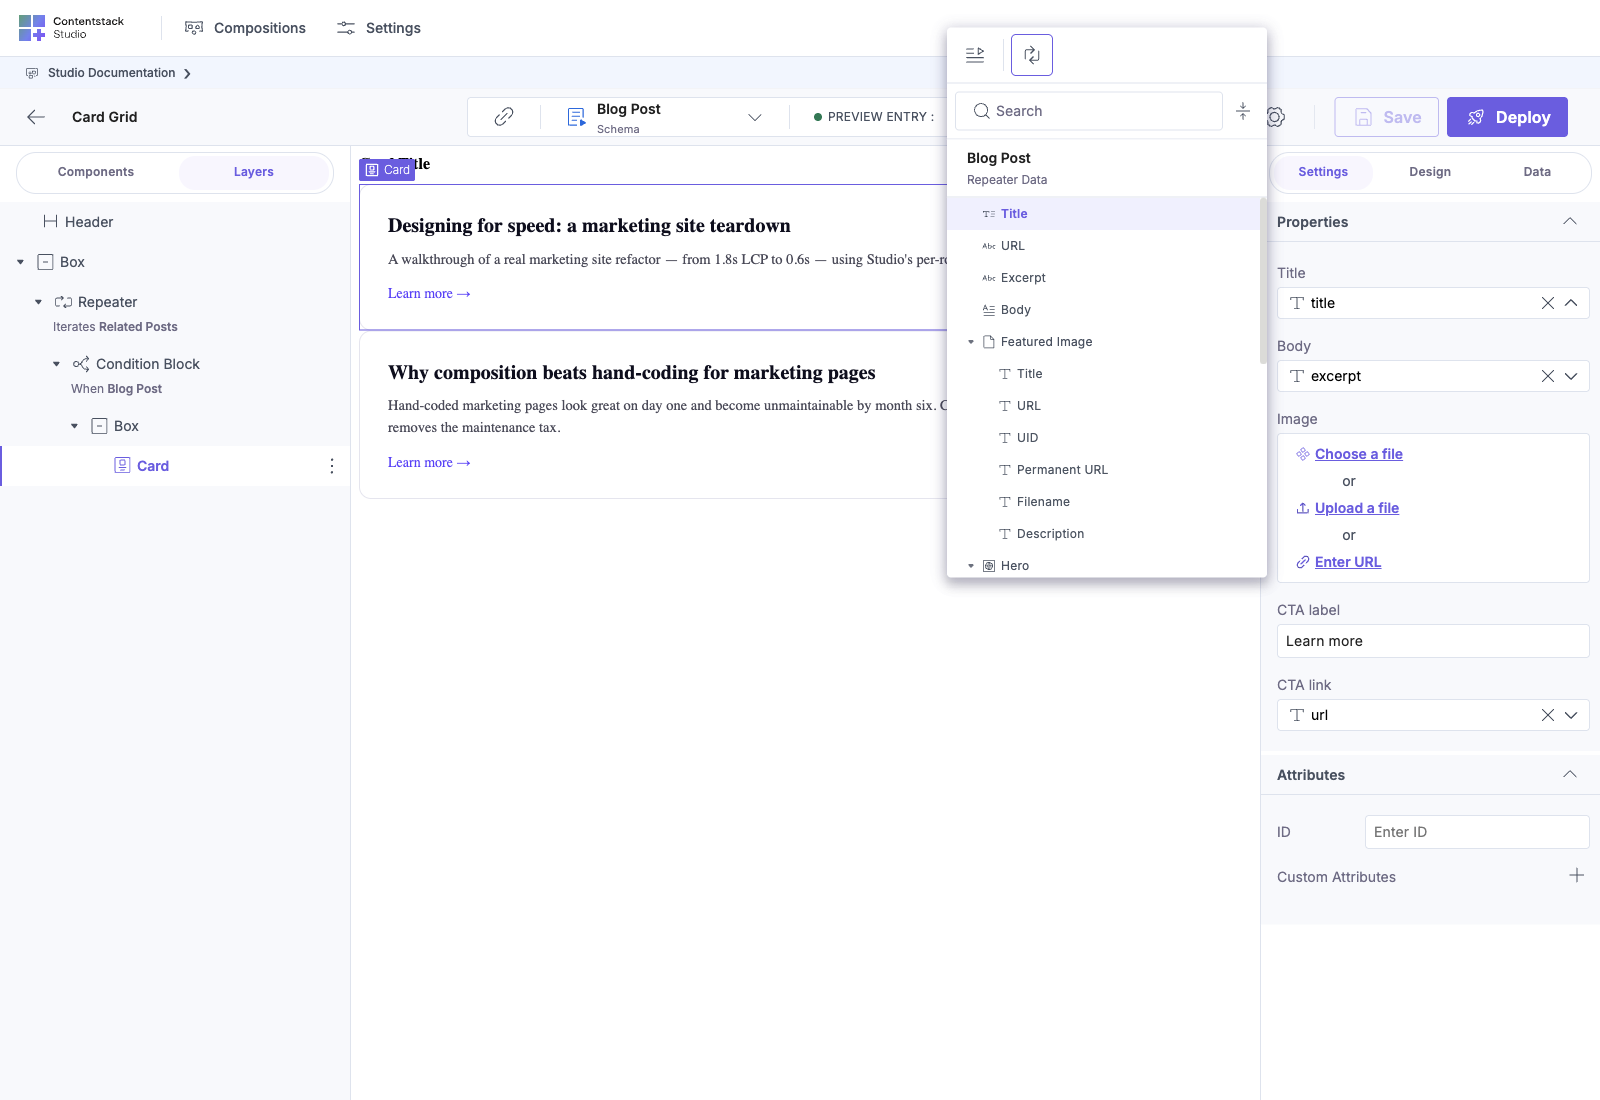
- In the right panel, open the Data tab, click the binding chip next to headline, and bind it to template.title
- Do the same for cover, binding it to template.featured_image (or whatever your CT calls it)
- Drop a Card below the Hero, then bind its title to template.title, body to template.body, and image to template.featured_image
- Save
Studio writes the composition record to your stack.
Step 6: Verify the Render
Open http://localhost:3000/blog/<a-real-entry-slug> in your browser.
You should see:
- Your Hero rendered with the entry’s title and featured image
- Your Card below with the entry’s title, body, and image
Pick a different blog_post entry. The page re-renders with that entry’s data. One template, many pages, all your components.
Step 7: Hand Off to Authors
The team can now:
- In Studio, open Compositions, then the template you built
- Edit any prop value inline
- Swap components, add sections, reorder
- Save + Deploy through your publishing workflow
Visitors see the changes when the composition publishes, at the same URL, same SEO, same routing.
What You Have Now
Two routes, three SDK calls, one template, your components in the palette. Authors can build pages for every existing blog_post entry without you writing more code.
To extend:
- Repeat the template flow for other content types (product, author, …)
- Build reusable sections (e.g. footer, CTA strip). See Card grid with slots
- Add per-template-instance overrides for hero copy. See Overrides without forking