Design Panel
Freeform-only surface. The Design tab renders only when Enable Freeform Feature is on for the Studio project. With Freeform off, the right panel collapses to Settings only, no styling surface, for any component (built-in or BYOC). This page lives under the Freeform chapter for that reason. If you need the Design tab, enable Freeform first. It doesn’t force you to use Freeform templates. It just exposes the full right-panel chrome (Settings + Design + Data).
What changes when Freeform is off vs on
| Freeform ON: full right-panel chrome | Freeform OFF: Settings only, no tab strip |
|---|---|
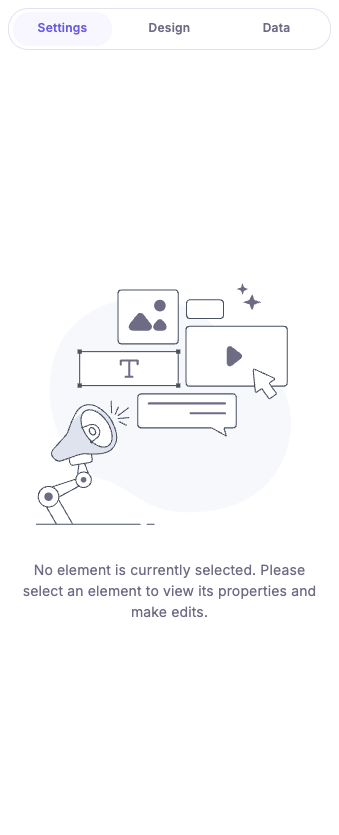 | 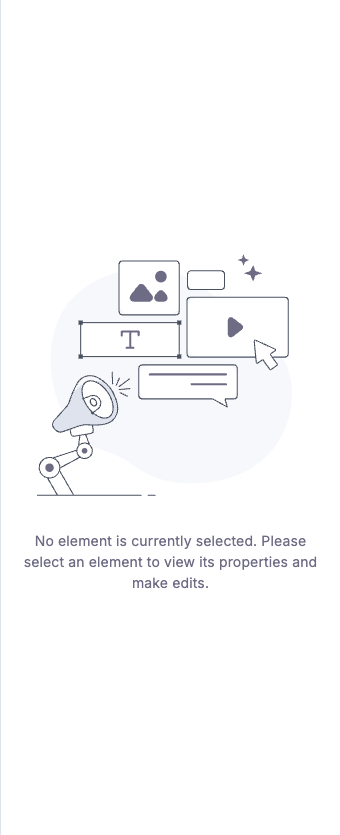 |
| Settings + Design + Data tabs across the top. Selecting a component reveals color / spacing / typography / border / shadow / layout controls on the Design tab. | No tab strip. Selecting a component only exposes the Settings-level prop editors, no design controls anywhere in Studio. |
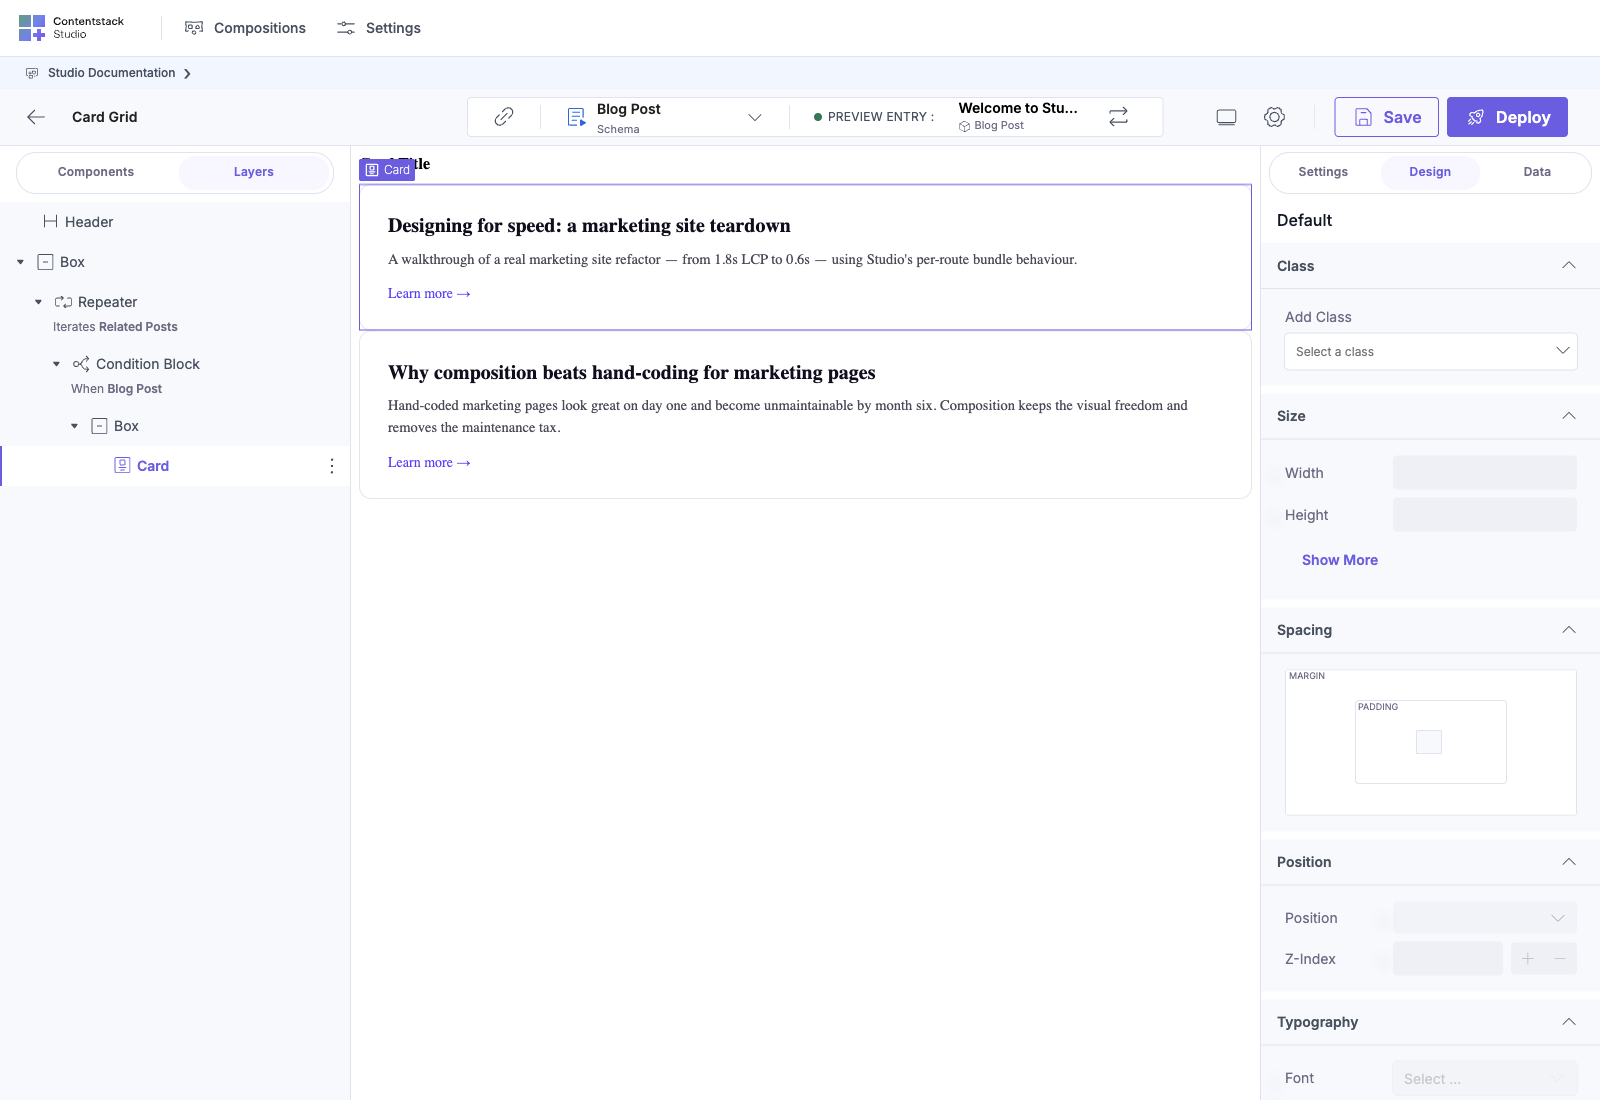
The Design tab in the canvas right panel is where authors apply styles to selected components: colors, spacing, typography, borders, shadows, layout, visibility.
It pairs with Design Tokens. The Design panel is the UI. Design tokens are the values that populate the dropdowns and pickers. The right-panel tab structure is Settings + Design + Data. See The Data tab for the full layout.
Do It With a Skill
The panel itself is a browser surface, but what it offers is not: import-design-tokens registers your tokens so the Design panel shows your spacing, colours, typography, radius and shadow values instead of Studio’s neutral defaults.
curl -fsSL https://studio-documentation.contentstackapps.com/install.sh | sh
Where It Is
In the right panel, open the Design tab (sibling to Settings and Data, all three visible only when Freeform is enabled).
Visible when (in addition to Freeform being on):
- A component is selected on the canvas
- The selected component’s registry entry includes styles configuration (or is one of Studio’s built-in components, which always have styles)
If a selected component shows no Design tab even with Freeform on, its registration didn’t declare any style groups. See Component schema: styles for the registration shape.
What You Can Style
Studio’s Design panel covers the standard CSS surface, organized into sections:
| Section key | Properties |
|---|---|
| class | Apply registered design classes |
| size | width, height, min/max width, min/max height |
| spacing | margin (top/right/bottom/left), padding |
| position | static / relative / absolute / fixed, z-index, offsets |
| visibility | opacity, display, conditional hide/show |
| layout | flex direction, justify, align, gap (when display is flex/grid) |
| typography | font family, size, weight, line height, letter spacing, color |
| transform | translate, rotate, scale, skew |
| media | image / media-related styling |
| background | color, image, gradient, position, size |
| shadow | box-shadow, text-shadow |
| effect | filter, transition, blend modes |
| overflow | auto / scroll / hidden / visible |
| border | width, style, color, radius |
| responsive | per-breakpoint overrides surface |
The exact list visible depends on the component’s styles.styleSections configuration. By default all sections show, but you can narrow per component to keep the panel focused.
Styling Methods
The Design panel applies styles in three modes. Pick what fits your workflow:
1. Design tokens (recommended for design systems)
The picker pulls from your registered design tokens. Colors come from your brand palette, spacing from your scale, typography from your text styles.
- Pro: Brand-consistent
- Pro: Updating a token updates every component using it
- Pro: Authors can’t go off-brand
- Con: Requires upfront token registration
2. Custom classes (when you have a class system)
If you’ve registered design classes, utility classes (Tailwind-style) or composite styles (“card-elevated”, “button-primary”), they appear in the Design panel as picker options.
import { registerDesignClasses } from "@contentstack/studio-react";

// registerDesignClasses takes an array of class NAMES (with optional display
// names). The actual CSS lives in your stylesheet — Studio applies the class
// name, your CSS provides the rules.
registerDesignClasses([
  { name: "card-elevated", displayName: "Card — elevated" },
  { name: "button-primary", displayName: "Button — primary" },
  "subtle",  // shorthand: name === displayName
]);
/* in your stylesheet — Studio applies `.card-elevated`, your CSS styles it */
.card-elevated {
  background-color: var(--token-color-surface-default);
  box-shadow: 0 4px 12px rgba(0, 0, 0, 0.08);
  border-radius: 12px;
}

> **`--token-*` is the SDK convention** for consuming design tokens — Studio emits every registered token as `var(--token-${section}-${name})` and the SDK's `DesignTokenCssVariable` type enforces it. Studio's internal UI uses a separate `--color-base-*` vocabulary for its own chrome; don't consume those from your components.
Authors pick Card — elevated from a dropdown. Studio applies the class to the component.
3. Free-form values (for one-off tweaks)
Authors can type arbitrary CSS values directly: width: 320px, background: linear-gradient(...), etc. Powerful but bypasses your design system.
Setting Design Guardrails
Decide per project which styling modes authors can use. Three levels:
| Level | What authors can do |
|---|---|
| dynamic | Lowest guardrail level. Authors can bind design values dynamically (e.g. from data). Tokens are also available |
| tokens | Pick only from registered design tokens |
| arbitrary | Anything goes, including free-form CSS values |
Set the level globally via registerDesignTokens options (it applies project-wide, not per-component). Most enterprise teams start at tokens: keeps the design system intact. Arbitrary is useful for prototyping, brittle for production.
Responsive Design: Breakpoints
The Design panel includes a breakpoint switcher: design for desktop, then switch to tablet / mobile and adjust per-breakpoint.
Studio applies the right styles per viewport. Authors see the canvas update as they switch breakpoints. What’s hard in code (per-breakpoint padding overrides, font-size scaling) is a single click in the panel.
Configure custom breakpoints via the SDK:
import { registerBreakpoints } from "@contentstack/studio-react";

// First entry must be the default (no media query). Others use a CSS media
// query string. `previewSize` controls the canvas frame dimensions when the
// author switches to that breakpoint.
registerBreakpoints([
  {
    id: "default",
    displayName: "Desktop",
    previewSize: { width: 1200, height: 800 },
  },
  {
    id: "tablet",
    displayName: "Tablet",
    query: "(max-width: 1024px)",
    previewSize: { width: 768, height: 1024 },
  },
  {
    id: "mobile",
    displayName: "Mobile",
    query: "(max-width: 640px)",
    previewSize: { width: 375, height: 812 },
  },
]);
CMS-bound Design Properties
Some design properties accept bindings. See CMS Binding. For example:
- A section’s background color bound to template.brand_color so each entry’s brand drives the color
- An image’s src bound to template.cover_image so the entry provides the asset
- A heading’s font size bound to template.heading_size for entry-driven typography scale
When a design property is bindable, the right panel shows a binding chip next to the control, same UX as binding component props.
Styling Registered Components
Your registered components opt into Design panel control via the styles field on the registry entry:
registerComponent({
  type: "Card",
  component: Card,
  // ...
  styles: {
    card: {
      displayName: "Card",
      defaultStyles: {
        backgroundColor: "var(--token-color-surface-default)",
        borderRadius: "12px",
        padding: "24px",
      },
      styleSections: ["spacing", "background", "border", "shadow"],
    },
    title: {
      displayName: "Title",
      defaultStyles: {
        fontSize: "var(--token-typography-fontSize-lg)",
        fontWeight: "var(--token-typography-fontWeight-bold)",
      },
      styleSections: ["typography", "spacing"],
    },
  },
});
What this does:
- Registers two style groups: card (the wrapper) and title (the heading inside)
- Each group declares its default styles (CSS that ships with the component)
- styleSections narrows which Design panel sections show per group: card exposes spacing, background, border, shadow. title exposes typography and spacing only
Authors see two style groups in the Design panel for this component, each scoped to its relevant property set.
Applying the Groups in Your Component
Registering a group is only half of it. Studio compiles each group into one CSS class and hands it to your component as a prop. Your component decides where it lands:
- the default group arrives as className
- every other group arrives as a prop named exactly like the group key
So the two groups above are delivered as className and title:
function Card({ className, title, heading, children }) {
  return (
    <div className={className}>
      <h2 className={title}>{heading}</h2>
      {children}
    </div>
  );
}
A group whose class never reaches the DOM cannot be styled. The author’s edits are stored on the composition, but nothing renders, and the Design panel tells them the component isn’t using the group.
Two things to avoid: naming a group after a prop you already register (the prop is applied last and overwrites the group’s classes), and forgetting to spread className when your component sets wrap: true. The wrapper element Studio adds does not carry your styles.
Applying Styles in the Editor
Once a component is registered with styles:
- Drop the component on the canvas
- Select it
- In the right panel, open the Design tab
- Pick the style group (if multiple)
- Adjust properties from the section pickers
Changes apply live. The canvas reflects them immediately. Save persists them to the composition record.
Common Pitfalls
| Symptom | Cause | Fix |
|---|---|---|
| Design tab is empty for a selected component | Registry entry didn’t declare styles | Add styles to the registration, see schema above |
| Tokens don’t appear in the color picker | registerDesignTokens wasn’t called at app boot | Add the call to your boot module |
| Author applied a value but it doesn’t render | The component never applies the class the group delivers | Apply the group’s prop: className for default, className={props.<group>} for the rest |
| Responsive breakpoint switcher doesn’t show | No breakpoints registered | Call registerBreakpoints at boot |
| Style applies on canvas but breaks on the live site | Live build is missing the CSS variable declarations | Check that registerDesignTokens runs in the production bundle, not just dev |
Best Practices
Register tokens before components. Components reference tokens via CSS variables. Tokens have to be registered first.
Narrow styleSections per component. Showing every section for every component bloats the panel. A button doesn’t need overflow controls. A card doesn’t need transform. Narrowing keeps authors focused.
Set sensible defaultStyles. Defaults populate the component on drop, same idea as defaultValue for props. Empty defaults mean the component starts unstyled.
Use the bindings story for varying styles per entry. Don’t fork sections to vary background color per page. Bind the color to an entry field instead.
Decide dynamic vs tokens vs arbitrary early. Switching from arbitrary to tokens mid-project means re-styling everything. Setting the level early prevents drift.
See Also
- Design Tokens: the values that populate the panel
- Component schema: styles: registering style groups
- CMS Binding: binding design properties to data